Kyoto Itinerary: How to Spend 4 or 5 Days in Japan’s Former Capital
*Disclaimer: This blog is reader-supported, and this page might therefore contain affiliate links. When you book or buy through them, I may earn a small commission at no extra cost to you. It helps me write these in-depth and original guides, so thank you for the support! Full Affiliate Disclosure
When we booked our Japan trip, Kyoto was at the absolute top of my bucket list. But to be honest, I have to say that it fell short of my expectations. This, however, was largely my own fault for setting such high expectations in the first place, and I still think that Japan’s former capital is worth visiting. I had a good time, and I will definitely return on my many future trips to the country.
Although Kyoto is a must-add to your Japan itinerary, many visitors are not well-prepared when they visit. From underestimating just how big the city is to figuring out how to structure your days, you can quickly find yourself overwhelmed when you visit. I actually felt even more overwhelmed in Kyoto than I did in Tokyo, which—considering how big Tokyo is—says *a lot*.
Based on my own experiences and learning from my mistakes, I wanted to create this full itinerary to ensure that you’re better prepared. I’ve felt the pain of arriving at Kyoto Station and having to figure everything out, while trying to also ignore how busy it is around you. I do not want you to be in the same situation.
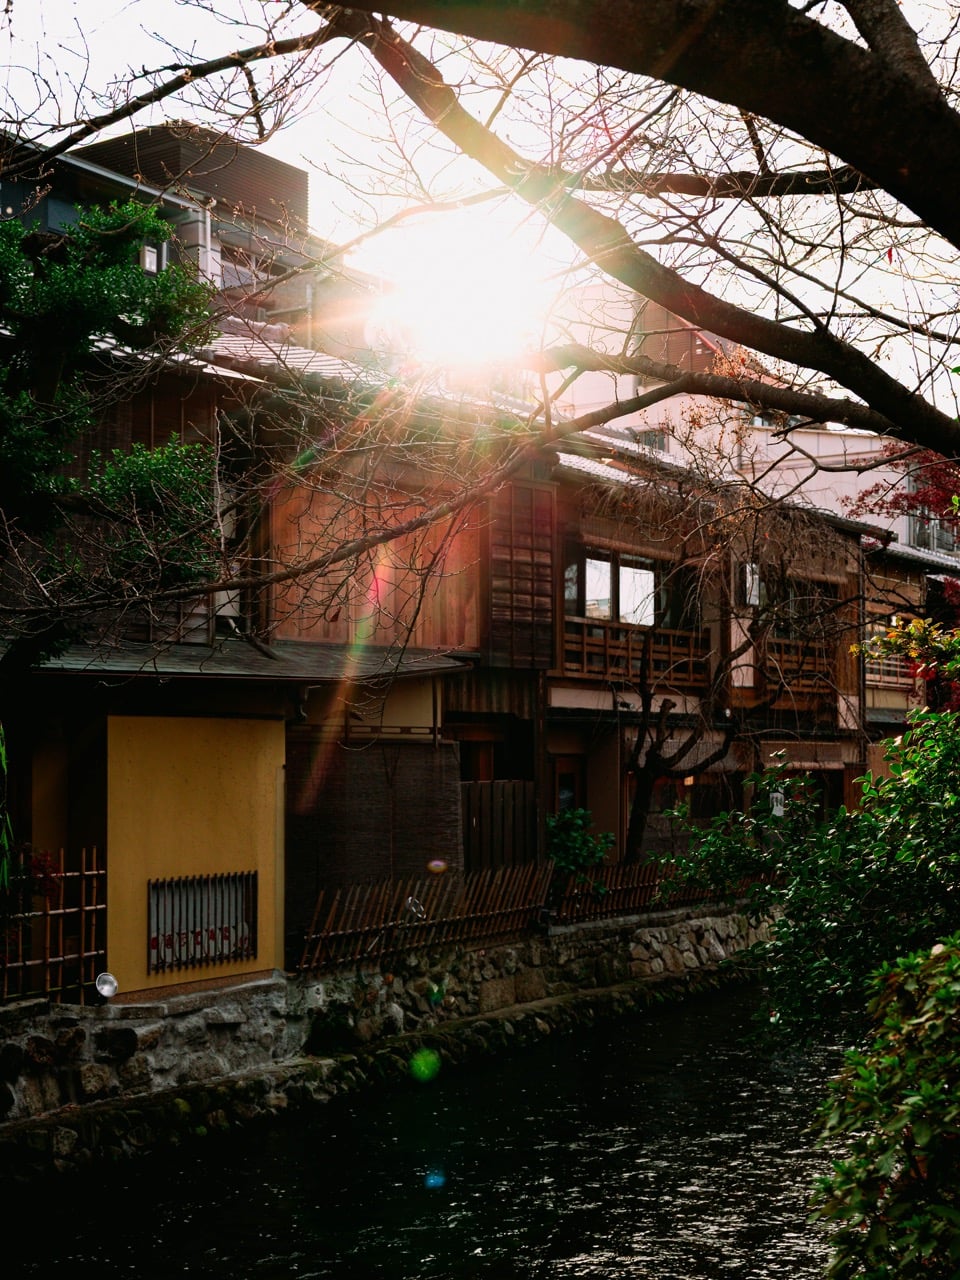
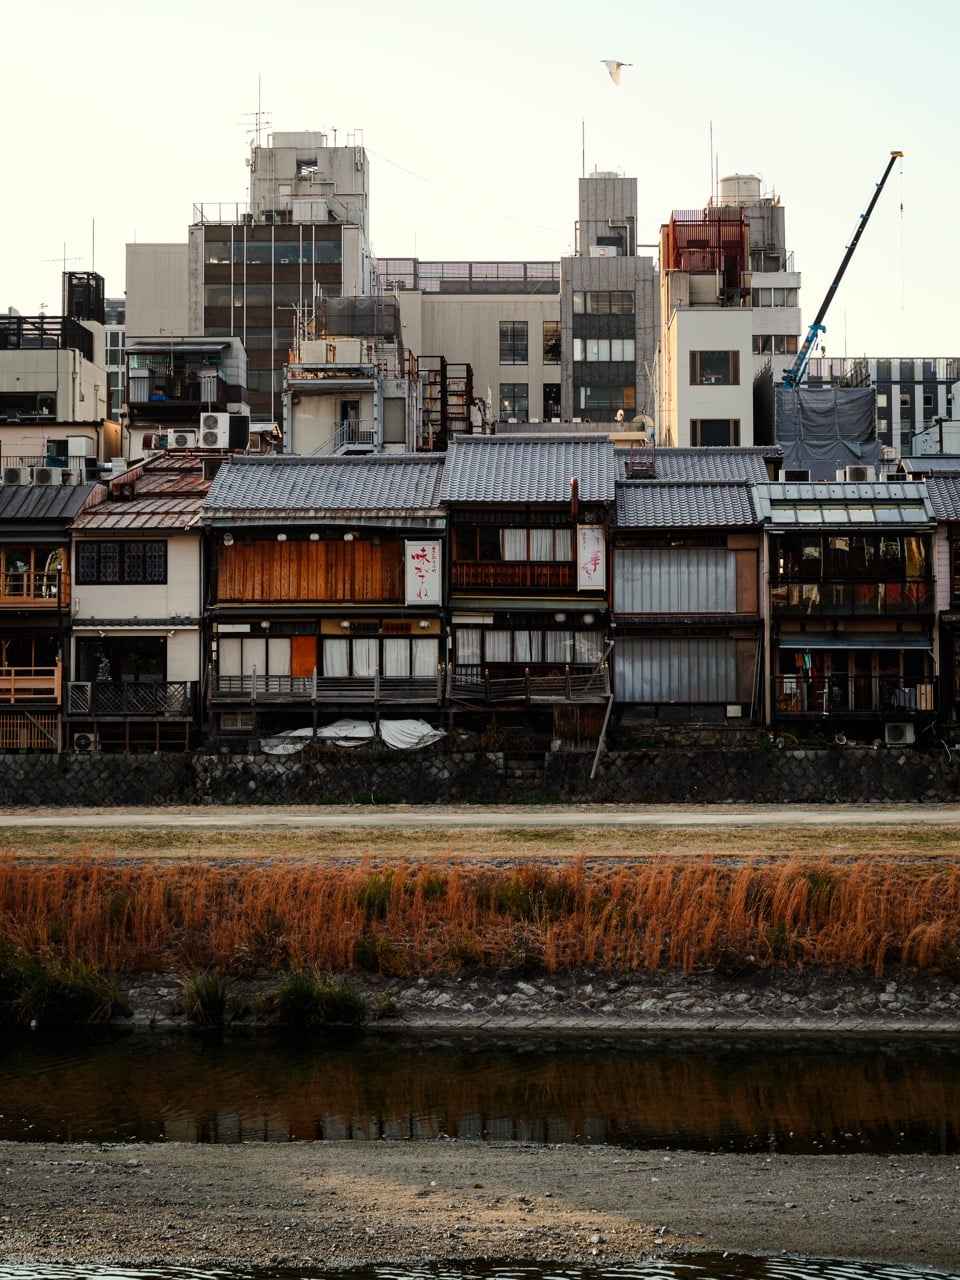
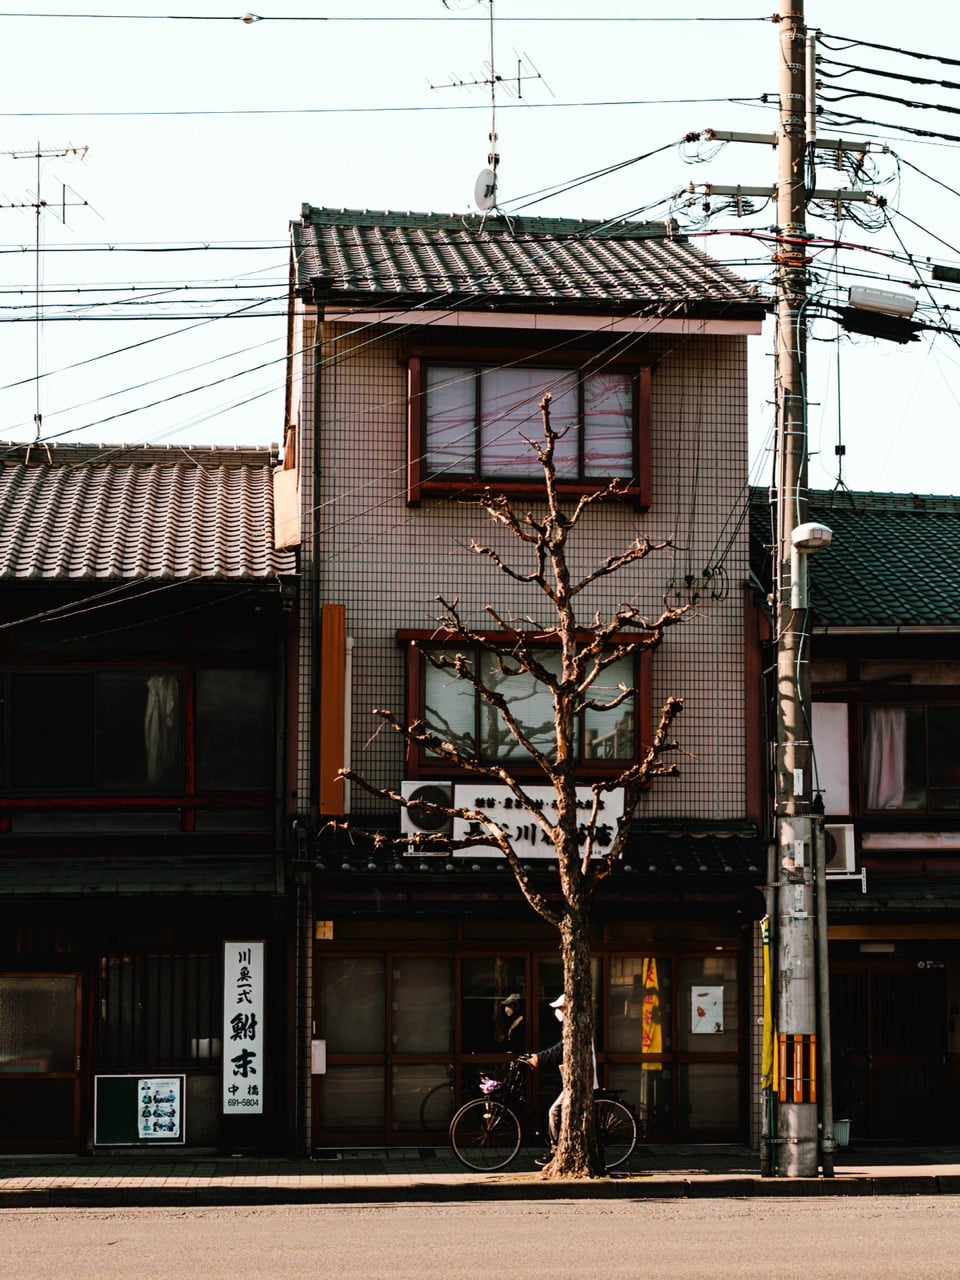
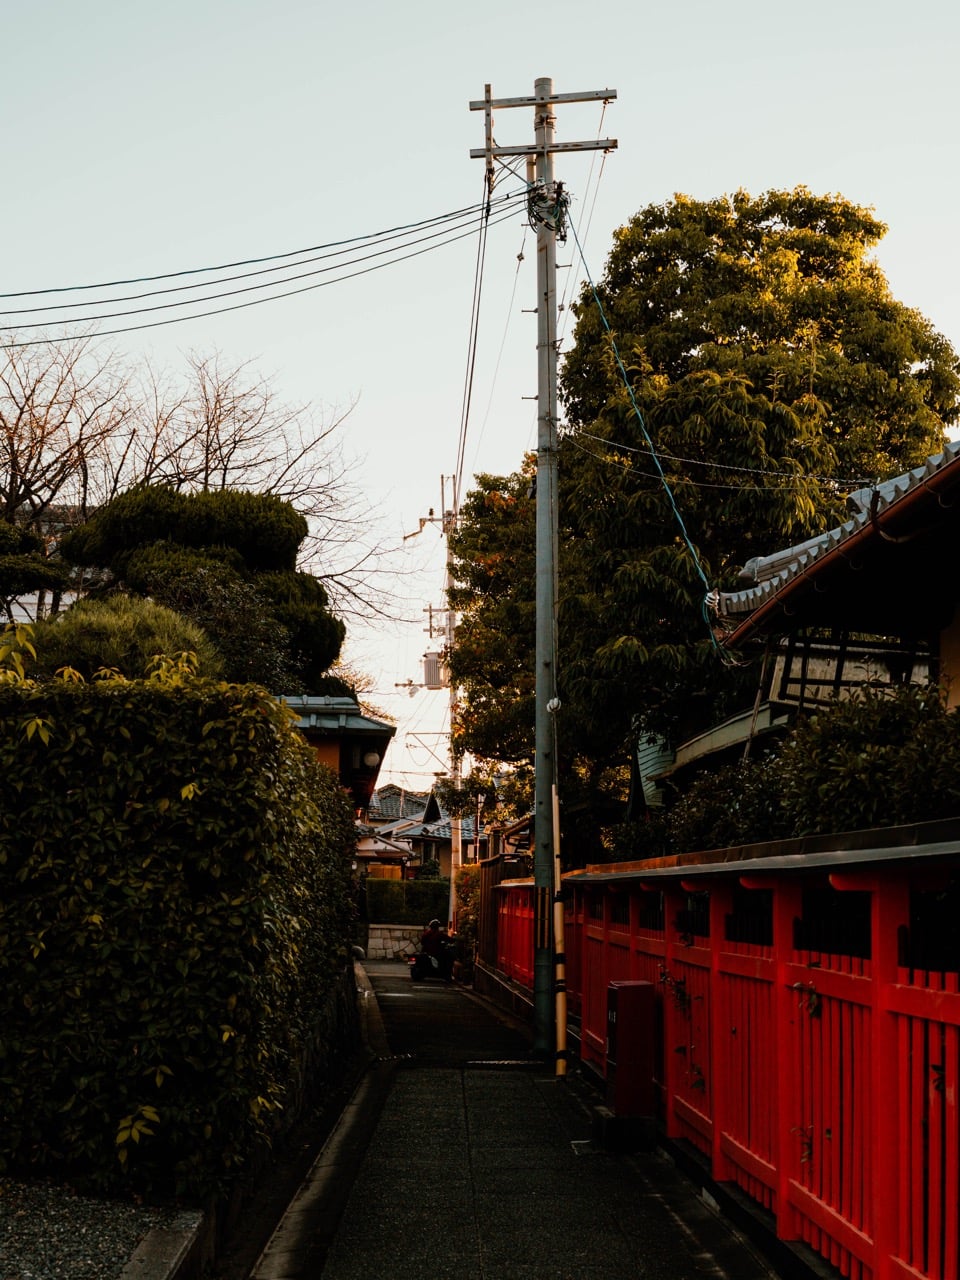
Kyoto deserves a significant amount of your time; it has way more to offer than what you might expect. While you’ll find the beautiful temples and shrines that you probably visited to see, Japan’s former capital also has a large amount of modern architecture. Frankly, I don’t think it’s as beautiful as many people do (though there are definitely charming corners). All of this makes it a really interesting city, though, and one that actually feels lived in.
In this complete itinerary, I’ll give you my recommendations for how I think you should structure your trip. You’ll discover what to do on each day, along with plenty more information that will help you plan your adventure without stressing yourself out.
Before We Start: Some Important Information for Your Kyoto Trip
My itinerary will make more sense after reading this section, and I therefore recommend doing so before getting into it.
How Long Should You Actually Spend in Kyoto?
In my opinion, you should spend 4 days in Kyoto at an absolute minimum. The longer you can stay, the better. My girlfriend and I stayed for 5 days, and I felt like we could easily have spent another week or so.
I’ll be slightly controversial here. If you’re planning to also visit Tokyo on your Japan trip (and you should), I suggest allocating the same amount of time to Kyoto at least. If you’re anything like me, it will take a few days for Kyoto to grow on you. I really didn’t like the city until around day 3, when I started to appreciate it for what it is.
Yes, that’s contrary to what many people say, but whatever. I don’t think that Kyoto is love at first sight. If you leave before giving it a proper chance, I think you’ll end up being disappointed.
I really, really do not recommend trying to do Kyoto in a day or two. The only exception is if you fancy trying to play Temple Run in real life. It’s pretty much impossible to do all the main highlights in one day; Kyoto is much more spread out than you might expect. If you can only allocate a single day,you’re much better off either visiting a handful of places or joining a guided tour.
Check Availability for Accommodation in Kyoto:
Why I Designed My Itinerary in the Way That I Have
As I mentioned earlier, Kyoto is pretty spread out. This, to be honest, threw me completely off guard when I visited. You cannot just walk from one side to the other, and many of the main attractions are quite far from each other. I also am not the biggest fan of public transport in Kyoto, which I will get to shortly. 🙂
I have written this itinerary to limit your travel time each day. Where it makes sense, I’ve added places that are either a short walk or train ride away. In some instances, I’ve also said where I think you should take an Uber. If you’re having to travel 45 minutes back and forth, it will quickly eat into exploration time. I don’t want you to spend half of your trip in transit.
While we’re at it, you’re not going to see *everything* in just 4-5 days. I felt like we covered a lot during our Kyoto trip, and I still need to go back for certain things I didn’t get to see. This itinerary is designed to help you get the most out of your stay and cut to what I think is actually worth seeing.
I have included a mixture of “touristy” places and others that I discovered while in Kyoto. I’m not going to act self-righteous and say that you shouldn’t go to the main sights just because it sounds edgy. You absolutely should visit Kiyomizu-dera and the Fushimi-Inari shrine. At the same time, I want to show you other parts of Kyoto that you might otherwise not have seen. All of my suggestions are based on my own experiences.
How I Recommend Getting Around Kyoto
Right, let’s talk quickly about my least favorite topic: Public transport in Kyoto.
The city has two Subway lines, which are useful in many instances. However, you will often be far from a station. Local trains are a viable alternative when you aren’t near a Subway station.
To be totally honest, I gave up on public transport in Kyoto by the third day. The Subway is efficient, but the lines do not cover a large chunk of the city. Buses do operate throughout the city, but in my opinion, they can’t handle the number of people in the city. For a Japanese city, Kyoto’s public transport is pretty poor. I guess this is subjective since I’m Northern European (and also because Japan generally has amazing public transportation), but… yeah.
Uber is a great option for getting around, and rides are relatively affordable. I used Uber quite a lot when I was in Kyoto, compared to not using taxis at all in Tokyo or Osaka.
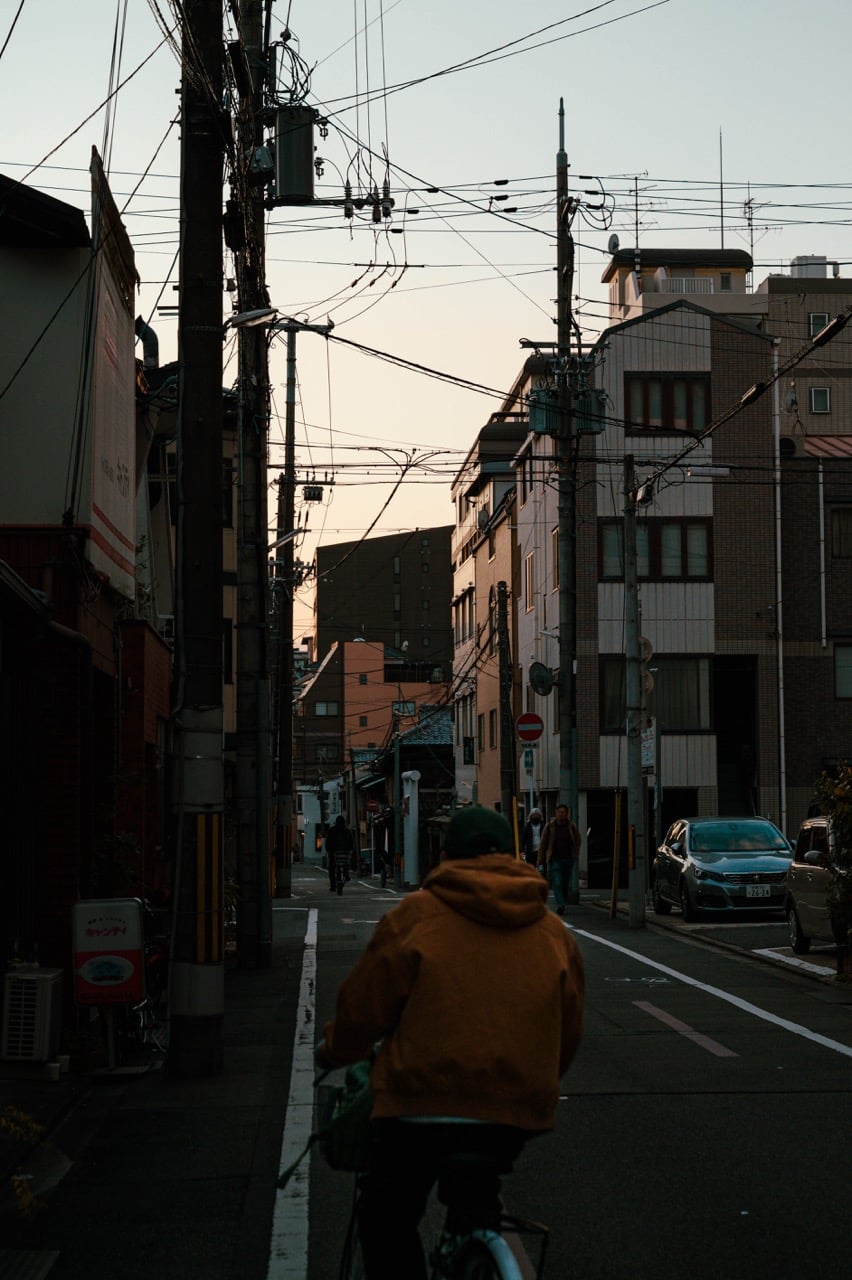
Cycling is another way to get around Kyoto, and the city is actually quite bike-friendly. When I’m next in Kyoto, I will absolutely rent a bike. You’ll find a solid network of bike lanes, and even as someone who lives in one of the world’s most bike-friendly cities, I’d feel comfortable biking in Kyoto.
How to Buy Public Transport Tickets in Kyoto
I used an ICOCA card when visiting Kyoto, and it also served me well when we visited Osaka. You can get the pass in your Apple Wallet if you use an iPhone, and it’s much easier than having a physical card.
For non-Japanese Android phones, I’m so sorry that you have to use Android. I don’t know what else to say. 😕
But anyway, if you don’t have an Android phone bought in Japan, you can only use the digital version on devices bought in Japan at the time of writing. In these cases, you can get a physical ICOCA card at JR-West stations in the Kansai region via the blue vending machines (or at ticket booths) or at Osaka Airport (you can’t get it in Tokyo). You’ll need to pay ¥2,000 up front, which includes a ¥500 deposit and ¥1,500 in credits for travel. Bring some physical cash for this.
You can also use Suica, but for the Kansai region specifically (which includes Kyoto and Osaka), I felt more comfortable using ICOCA since it’s specifically designed for public transport in this part of Japan. I also used a Subway pass in Tokyo, but if you don’t buy one, Suica will—for the most part—be fine in Kyoto. Public transport in and around Kyoto is generally affordable.
I Haven’t Included Every Temple in Kyoto Because That Would Literally be Impossible
… But I have included a decent selection. We went to over 20 temples and shrines during our trip to the city; I could happily have wandered around these for a month and not gotten bored.
I have included the specific names for some temples and shrines that we visited, but not all. You’ll often be close to a cool place when in the areas on my itinerary, though. I didn’t include the names of all temples and shrines for two reasons:
- Some are very small and would not be able to handle big crowds.
- I encourage you to also find your own unique places as you explore Kyoto.
Does point #1 make me self-righteous and contradict myself? I mean, maybe, I don’t know. The point still stands. 🤷🏾♂️
You Can Use This Itinerary Year-Round
I visited Kyoto in December as part of a trip on Japan’s Golden Route, but you can use this itinerary regardless of when you visit. It’s for 4-5 full days, and I have created it in a way that allows you to be flexible when you arrive. We arrived here after staying by Mount Fuji for a few nights, and you might either be doing the same or coming from Osaka / Tokyo.
When you arrive, I suggest taking the rest of your first day easy and finding your feet. You can use this itinerary from the next morning after you wake up.
This itinerary is for people who like to be active but also want some slower periods and to be more flexible/spontaneous. I’ve designed this to give you the framework for your visit, but I also encourage you to explore Kyoto and find your own treasures. The city, like Tokyo, is full of unique places.
My Complete Kyoto Itinerary for 4-5 Days ⛩️
Now that you have all the context you need, you’re ready to read my complete Kyoto itinerary. I’ve designed this in a way that you can bookmark and refer to it whenever needed.
Day 1: (Some of) Kyoto’s Main Highlights
Your first day in Kyoto will involve a handful of what I think are the biggest must-do experiences and essential sights. Where necessary, I’ve added links to their locations on Google Maps for easy navigation.
Morning
On your first morning in Kyoto, I recommend either starting with breakfast at your hotel or getting some food from your local convenience store. Bonus if it’s Lawson, but no worries if not. I have included some recommendations for brunch on other days, so don’t worry about that. 🤠
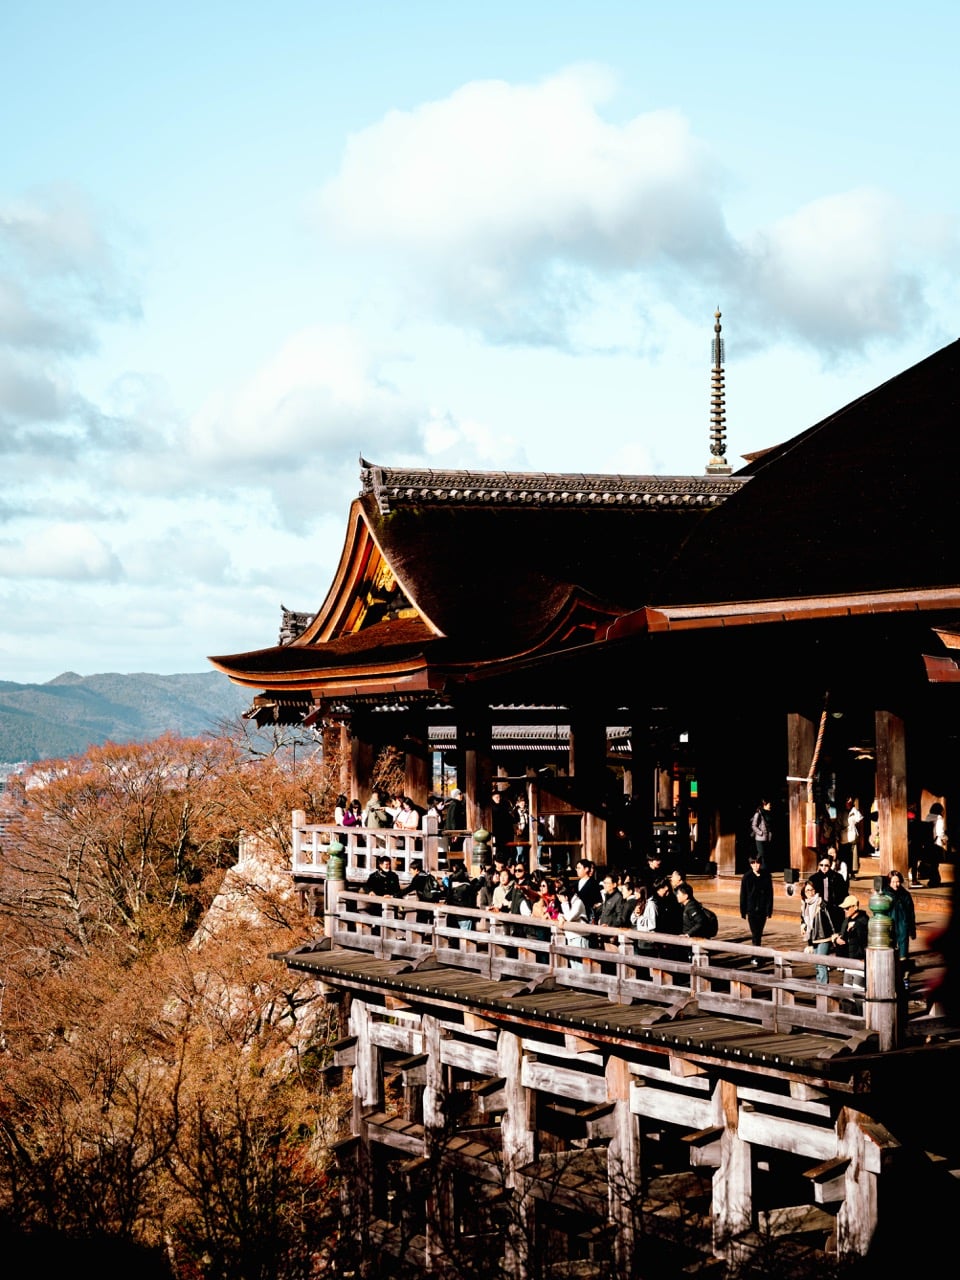
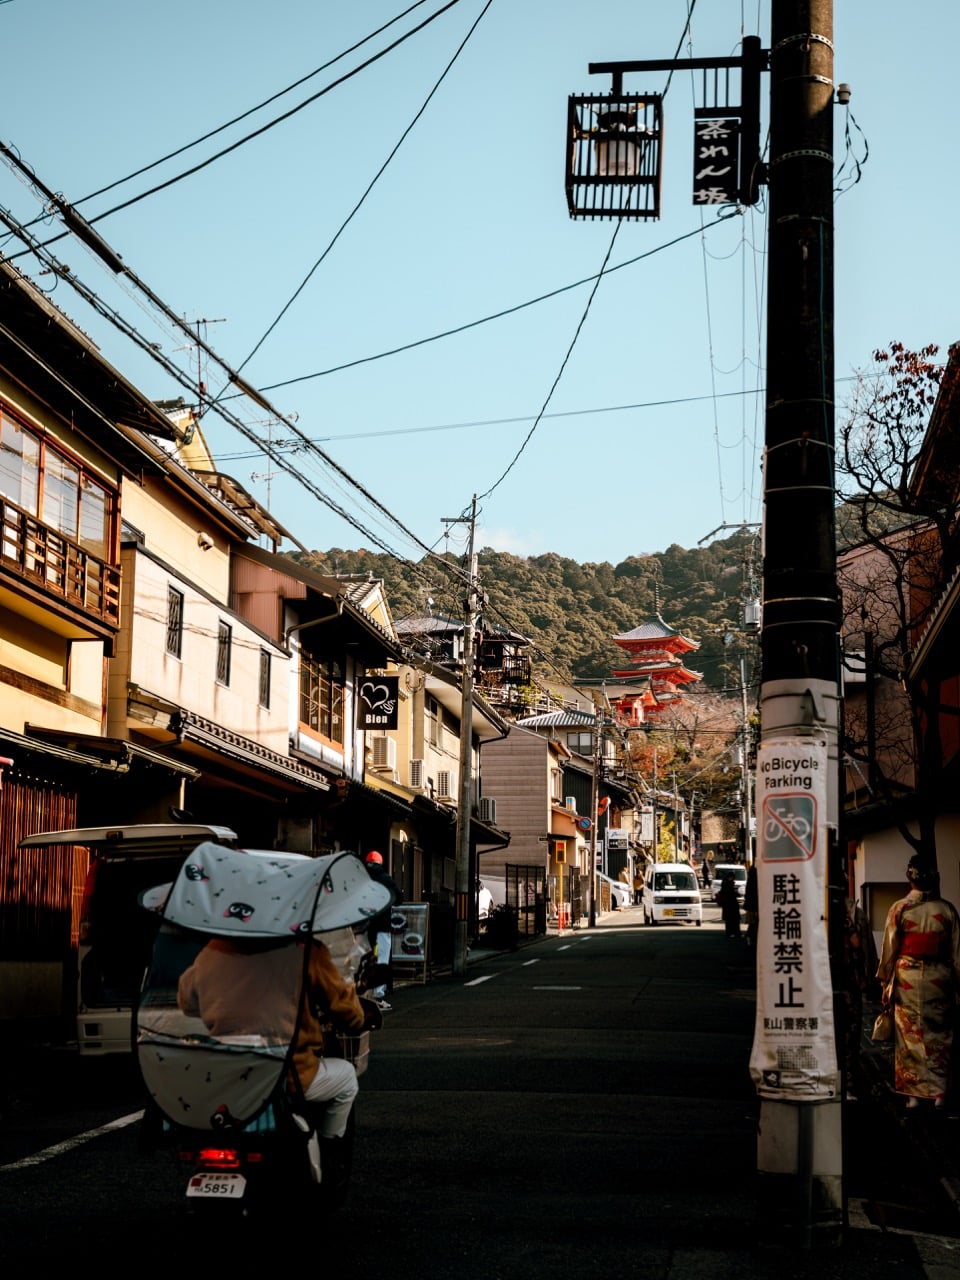
I’d suggest spending the bulk of your morning at the Kiyomizu-dera temple. It gets really crowded here, and you will likely not be alone already, but your visit will be more manageable if you arrive early. Kiyomizu-Gojō is the closest station, and from here, it’s a 20-minute walk. I must warn you that the walk is uphill, for the most part.
In addition to visiting the outside parts of the temple, you should also pay the small entrance fee and visit the grounds properly. Besides some great views, it’s nice to go for a walk; you’ll find some parts that are nowhere near as crowded, too. Bring physical cash if you plan to go inside the temple.
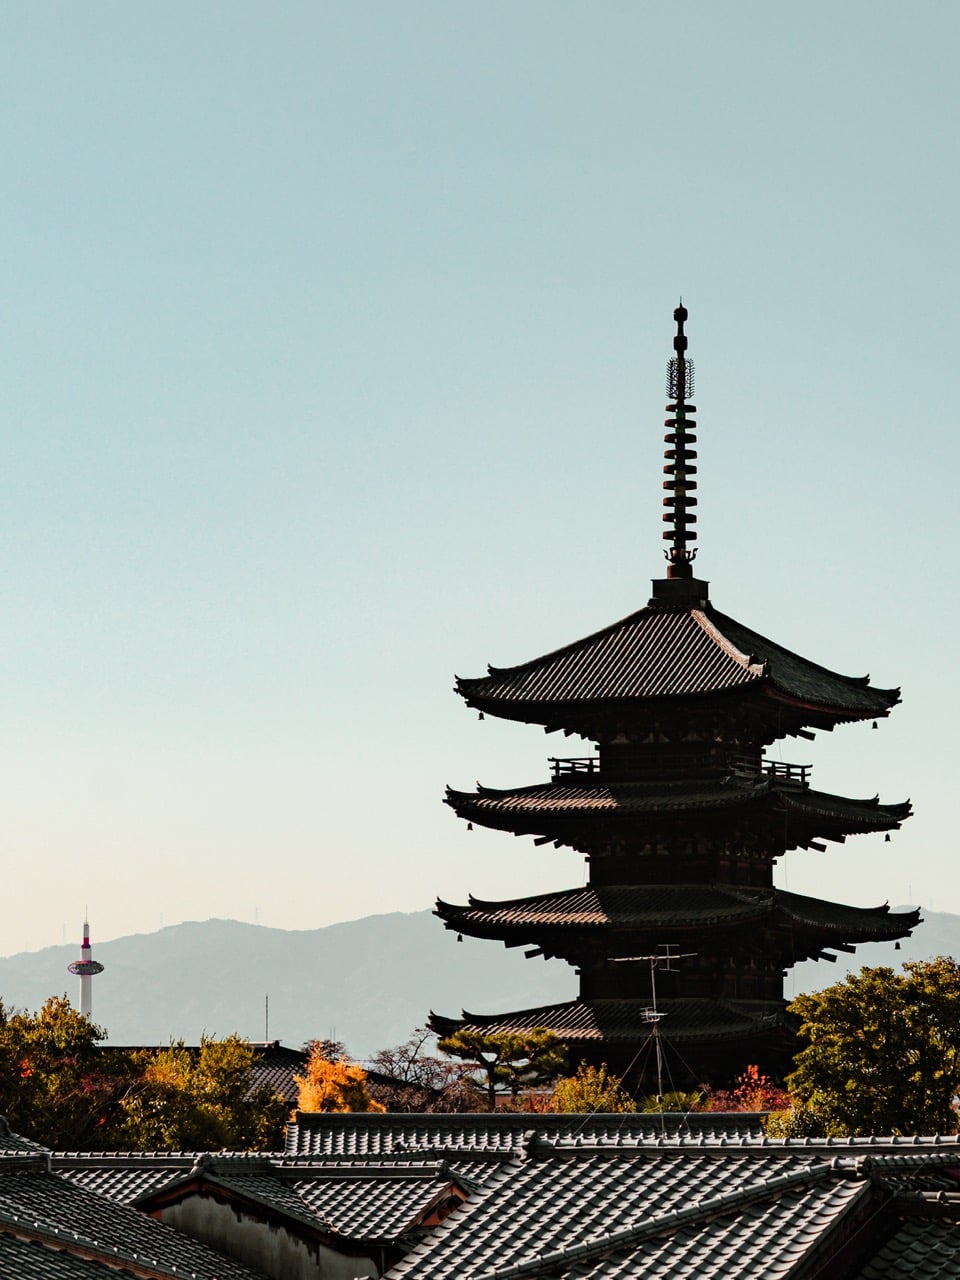
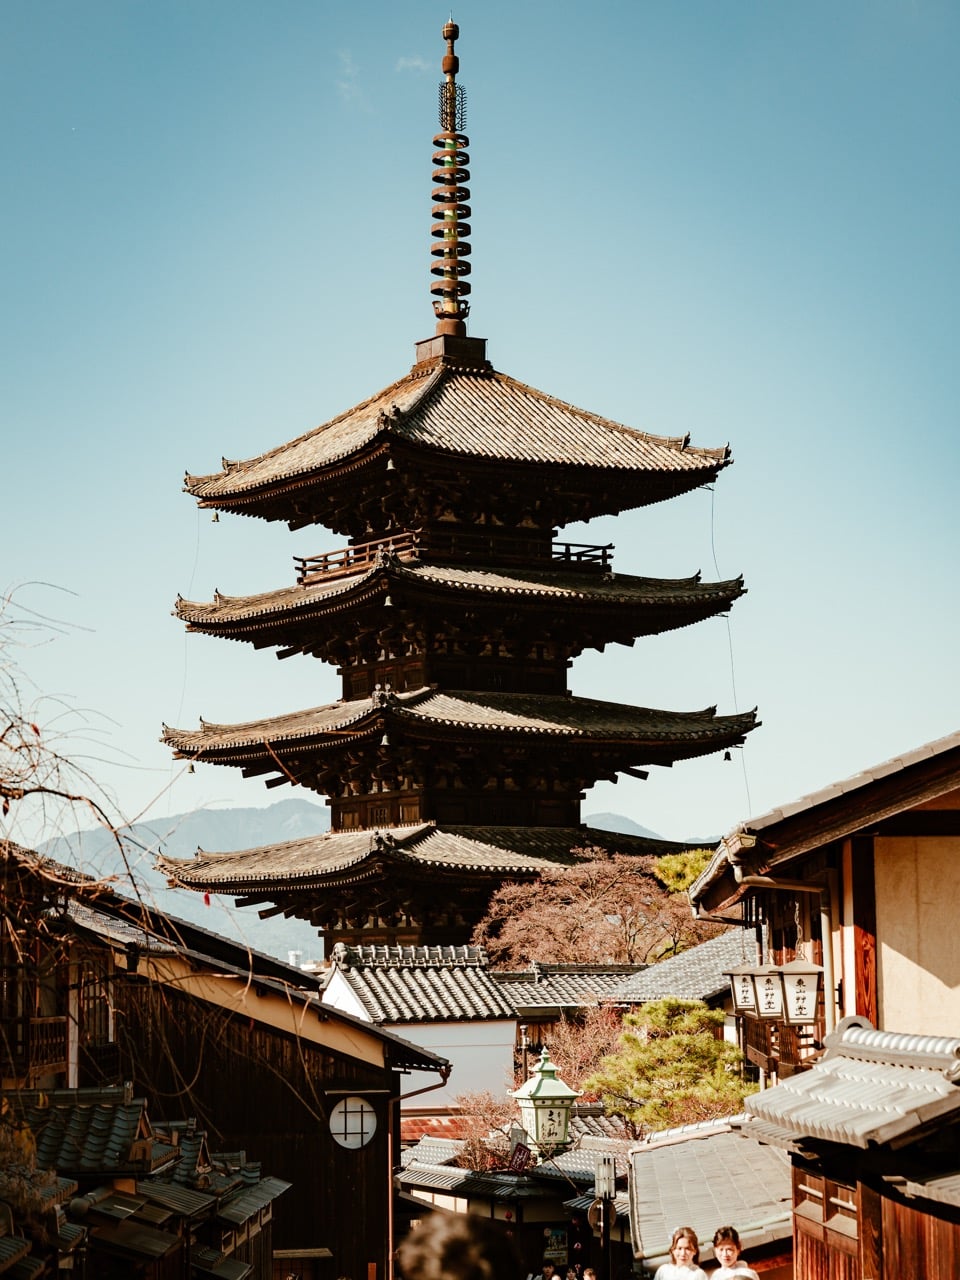
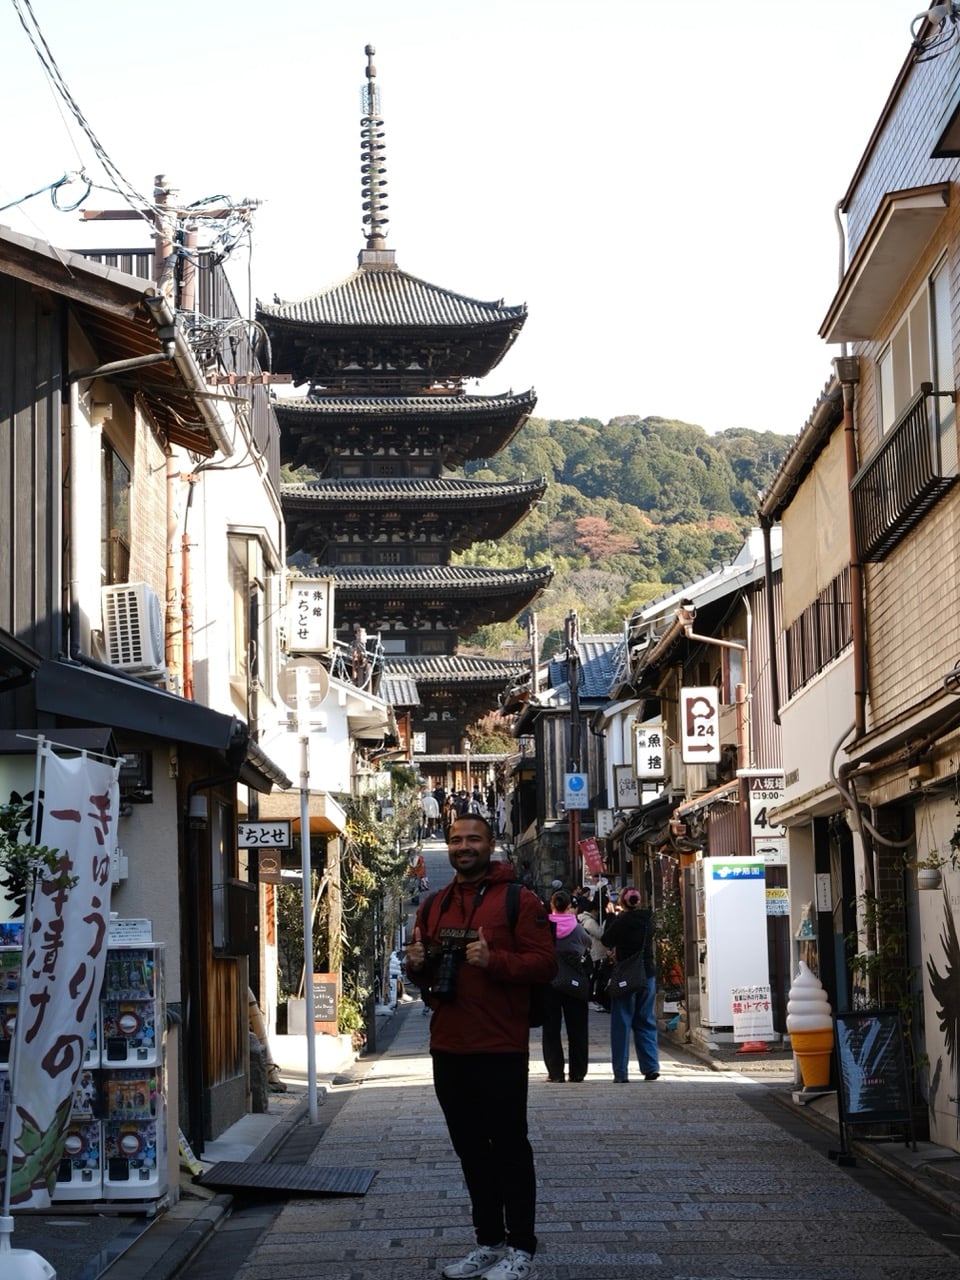
We spent a few hours at the temple, so it will eat up a large chunk of your morning. Once you’re finished, you should definitely check out the streets around Kiyomizu-dera. The iconic Yasaka Pagoda, which dates back to the 6th century, is also close by.
Afternoon
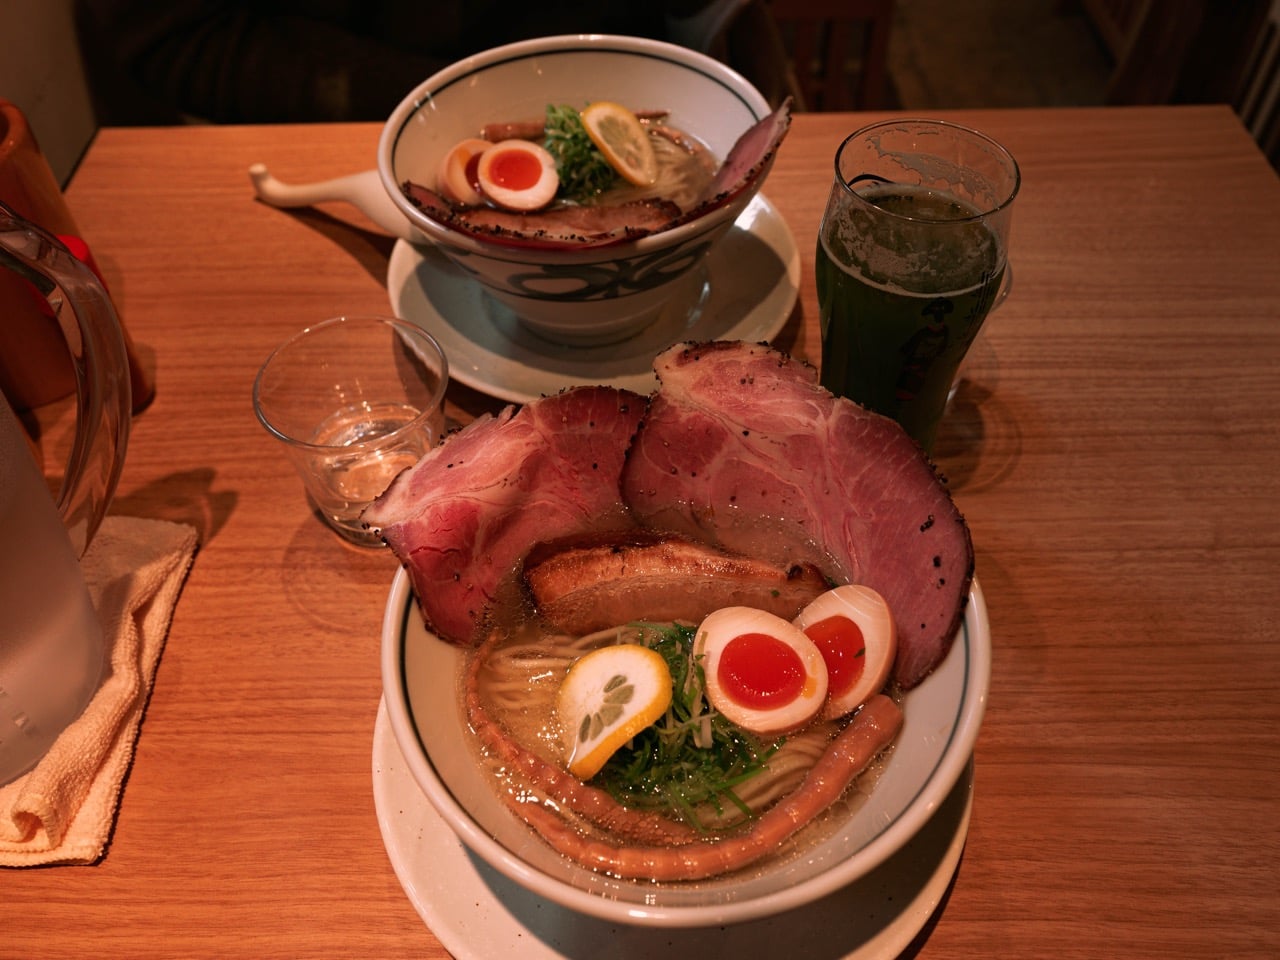
When you’re feeling hungry, you won’t be short on options. I’m normally hesitant to eat around major tourist sights, but we did find one good ramen spot close to the Yasaka Pagoda called Japanese Noodle YUKOU (here’s the Google Maps location). It’s a bit more expensive than your average ramen, but it’s also good. Since you’re here, you might as well also get the matcha beer. You might need to wait in a queue outside, but I promise it’s worth it.
After filling up on some food, you can spend a few more hours exploring the area close to Kiyomizu-dera. On its outer edges, we got some nice ramen bowls as souvenirs from Pottery Shop Toutensei Kawasaki (Google Maps location). The Kyoto Ceramic Center is also worth visiting.
If you want to try some more Japanese drinks, you can also go to the Local Sake and Beer Stand 336. I don’t drink so much alcohol, but this was cool. This was a nice stop, and… let’s say I may or may not have realized just how quickly saké gets to your head. Sip slowly, that’s all I will say.
Evening
I’d recommend spending the evening of your first day in Kyoto doing a tea ceremony. When we did ours, it was my personal Japan trip highlights. Besides learning about this tradition from people who practice it regularly, we were also given the chance to make our own matcha. We went to this ceremony at Jōtoku-ji Temple, but there are also plenty of other choices in Kyoto if you want to compare your options—such as the ones below.
For dinner, Kyoto has plenty of places to eat regardless of where you are. I recommend finding something close to your tea ceremony. If you need something simple, you’ll almost certainly find a 7-Eleven, Lawson, or Family Mart store nearby.

Day 2: The Philosopher’s Path and Nanzen-ji
After spending much of your first day in one specific part of Kyoto, your second full day in the city will take you a little further away. The stuff I mention here is actually some of my favorite things to do in general, and I must say that this was the day I enjoyed writing the most about. 😄
Morning
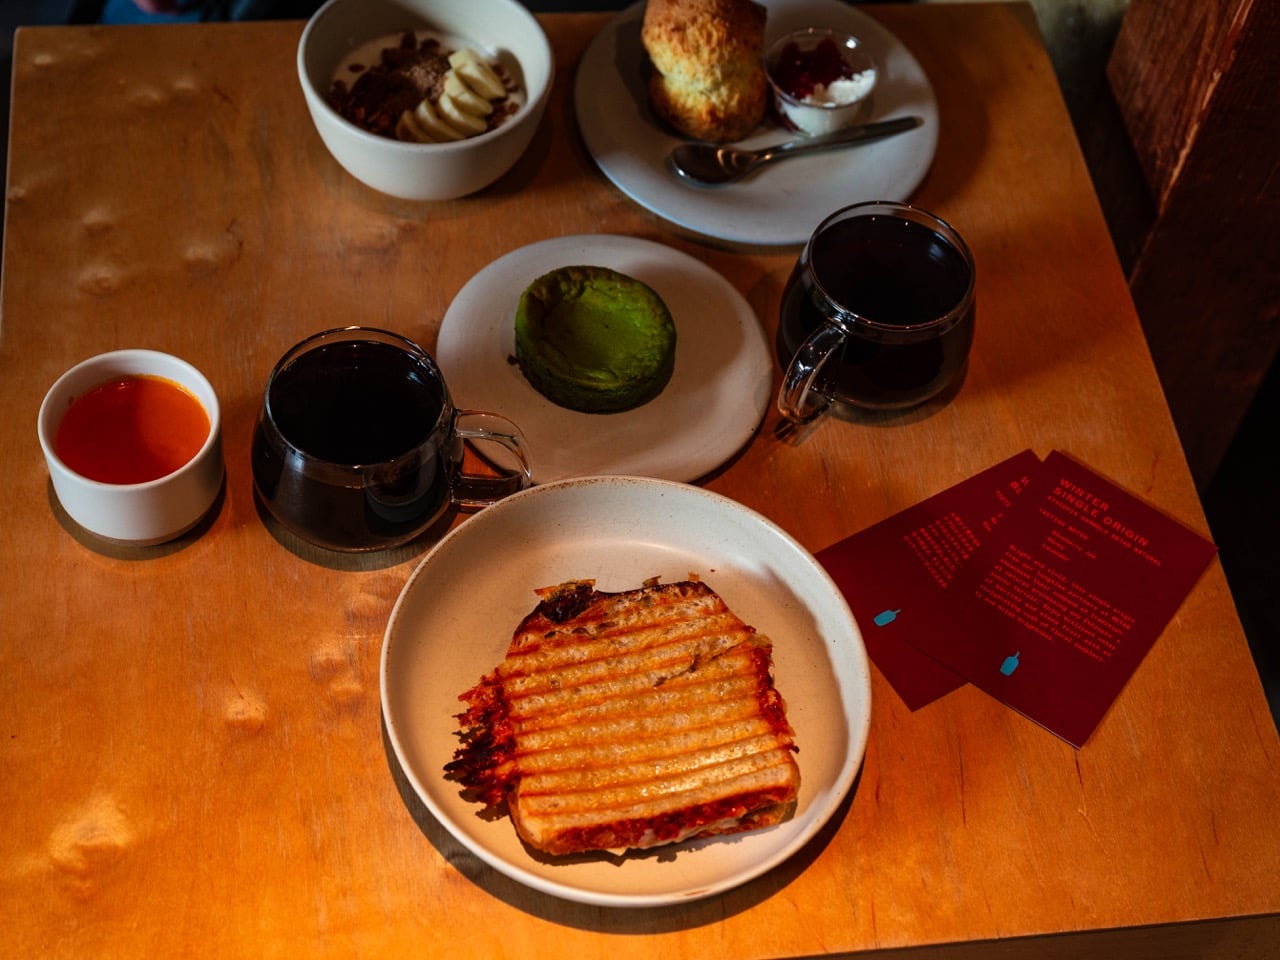
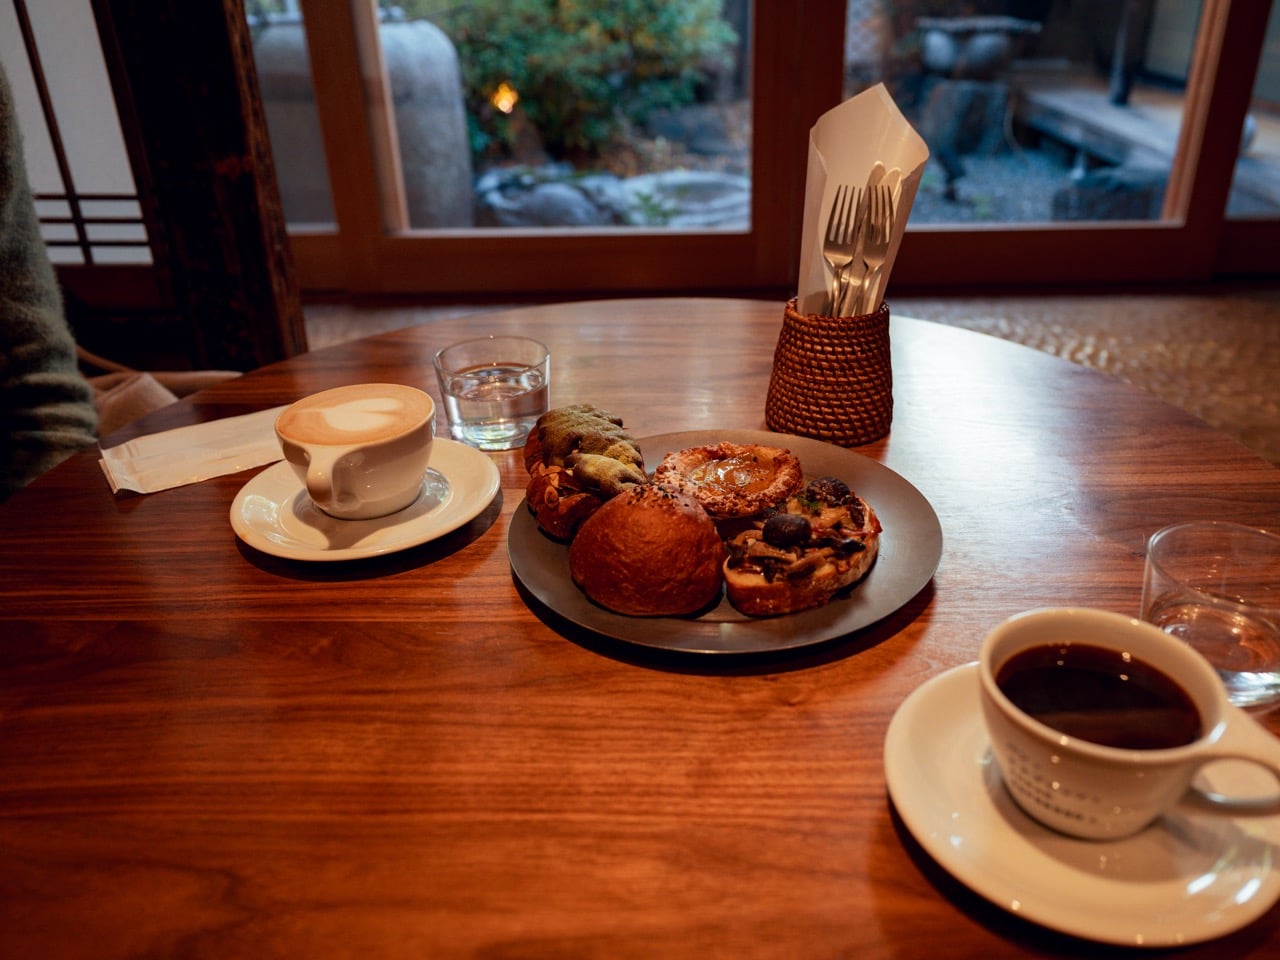
Whereas the first morning in Kyoto was more of a get-up-and-go start, the second day will be more relaxed in this respect. For breakfast, I recommend going to Blue Bottle Coffee. You’ll find a handful of cafés in Kyoto, but I’m specifically suggesting the one close to the Nanzen-ji temple. The main reasons are that a) this is where I went myself, and b) it’s close to where we’ll spend the rest of the morning. To get here, take the Subway to Keage Station (it’s on the Tozai Line).
Blue Bottle Coffee has a number of specialty coffees, and the food here is also really nice. It’s a spacious and peaceful place to have breakfast; the interior is lovely, too. As a side note, Kyoto was my favorite place in Japan for niche coffee experiences. So, if you’re into that, you’ll have a lot of fun here.
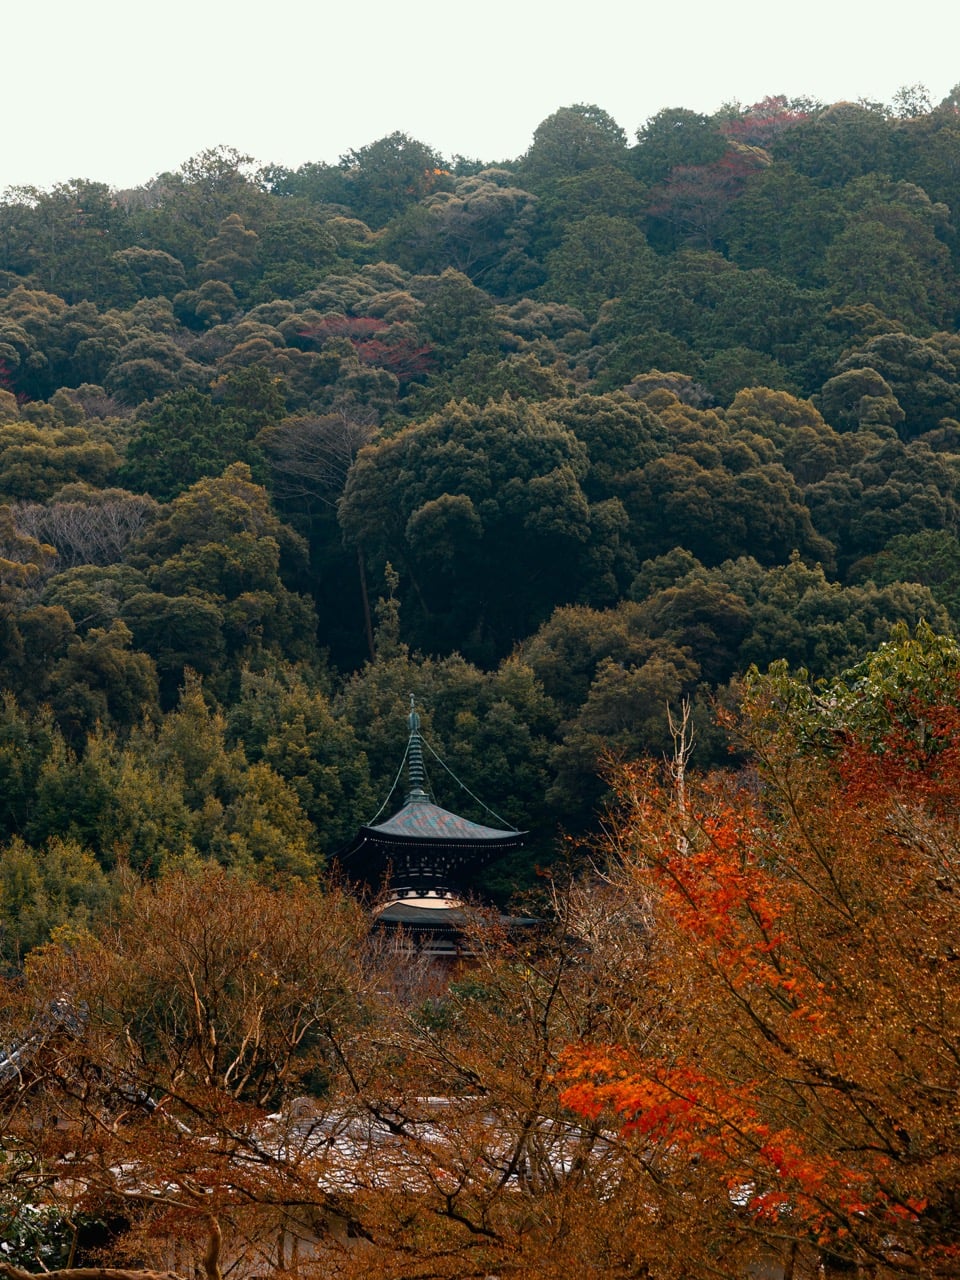
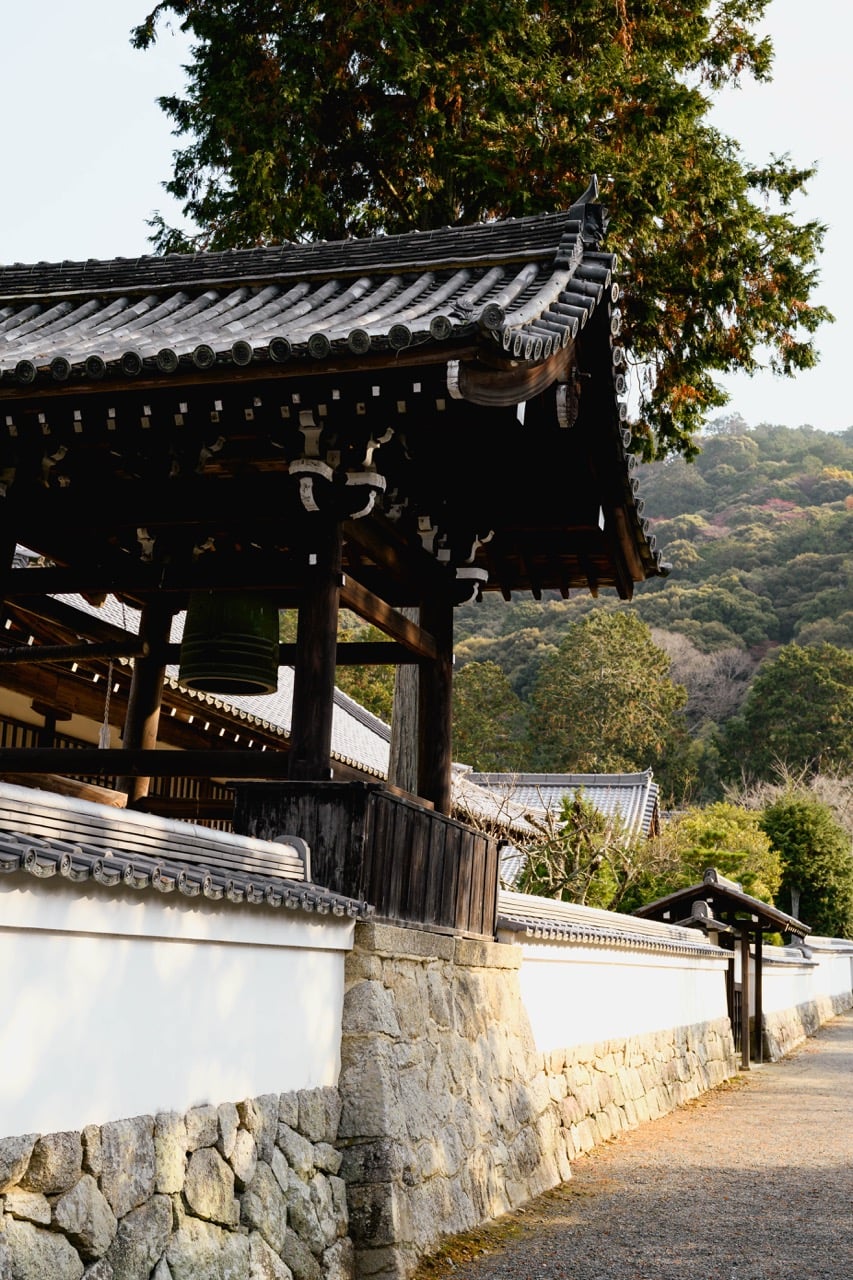
Spend as long as you want eating and drinking your coffee. Once you’re ready to move on, you’re just a short walk from Nanzen-ji. This was one of my favorite temples when I visited Kyoto, and it’s a short walk from Blue Bottle Coffee.
Nanzen-ji covers a pretty big area, and you can easily spend a few hours here. There’s a cool trail where you can peek out at your surroundings, too.
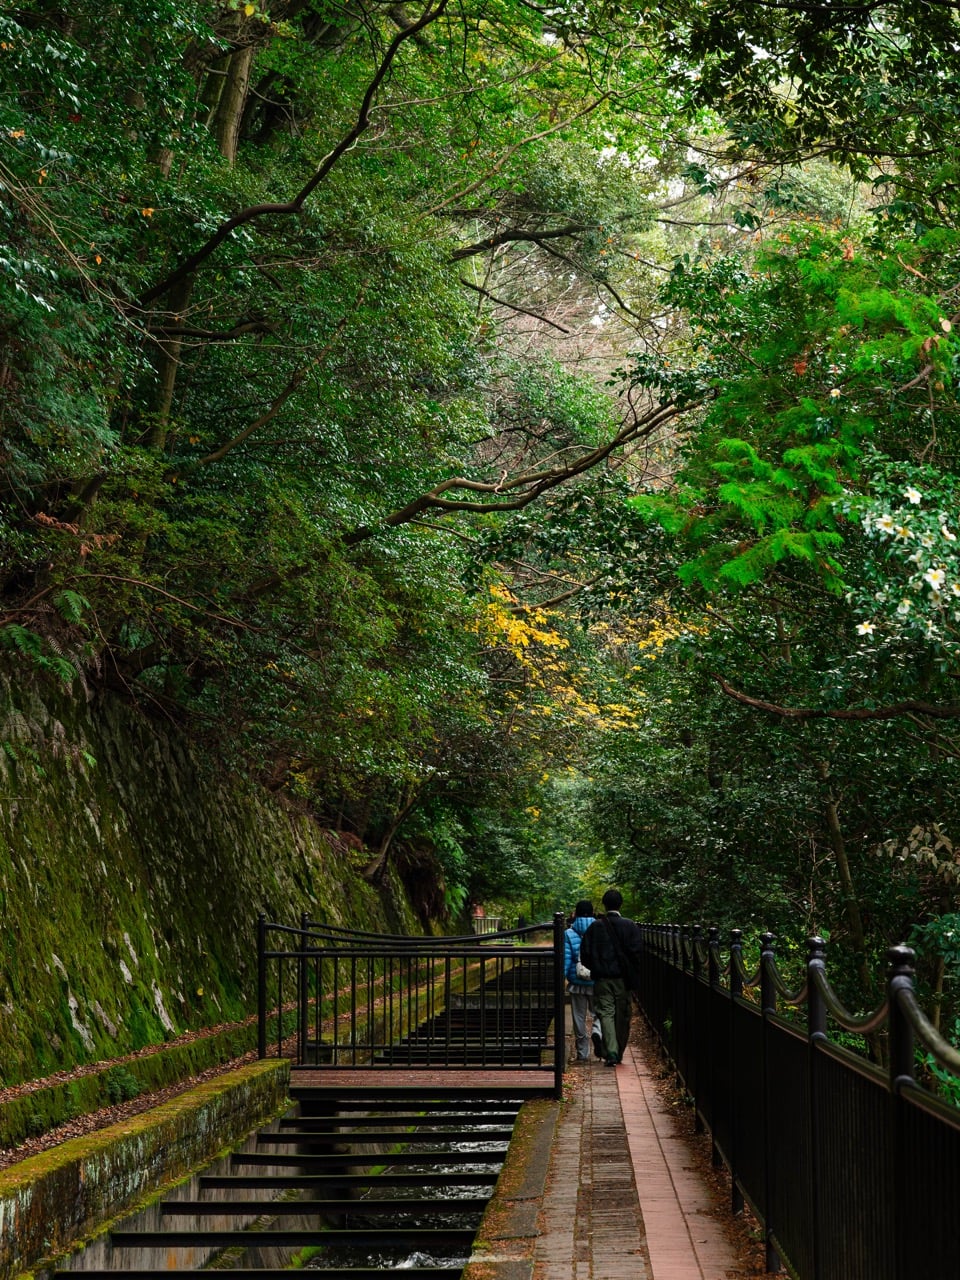
Afternoon
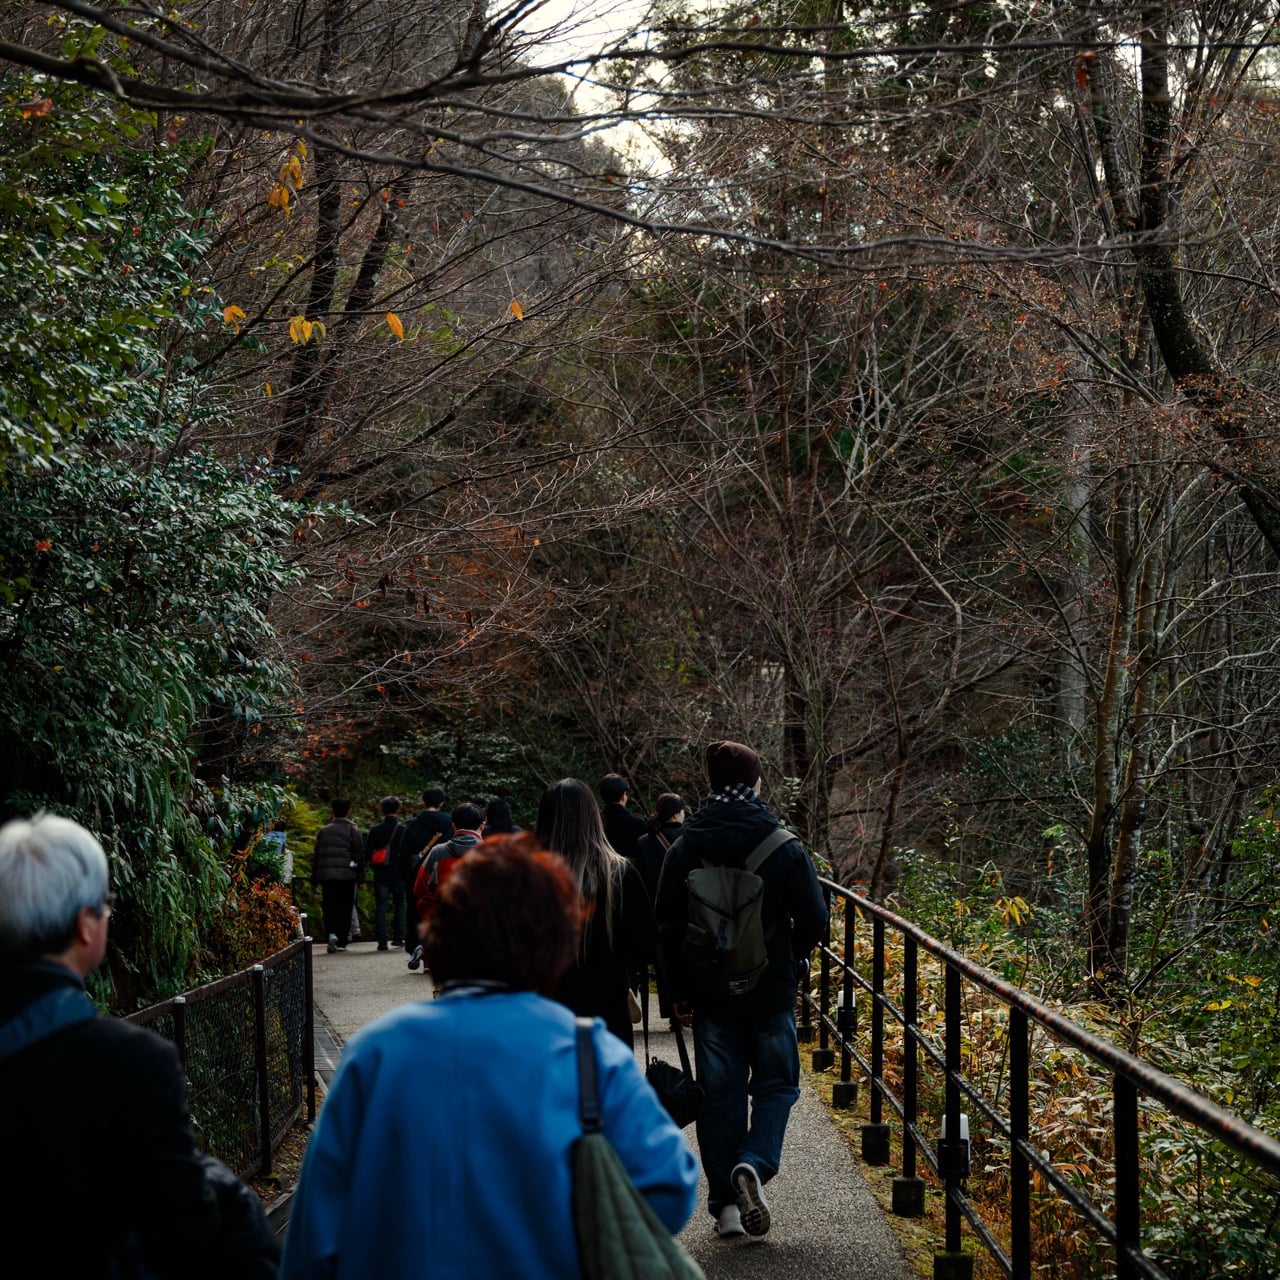
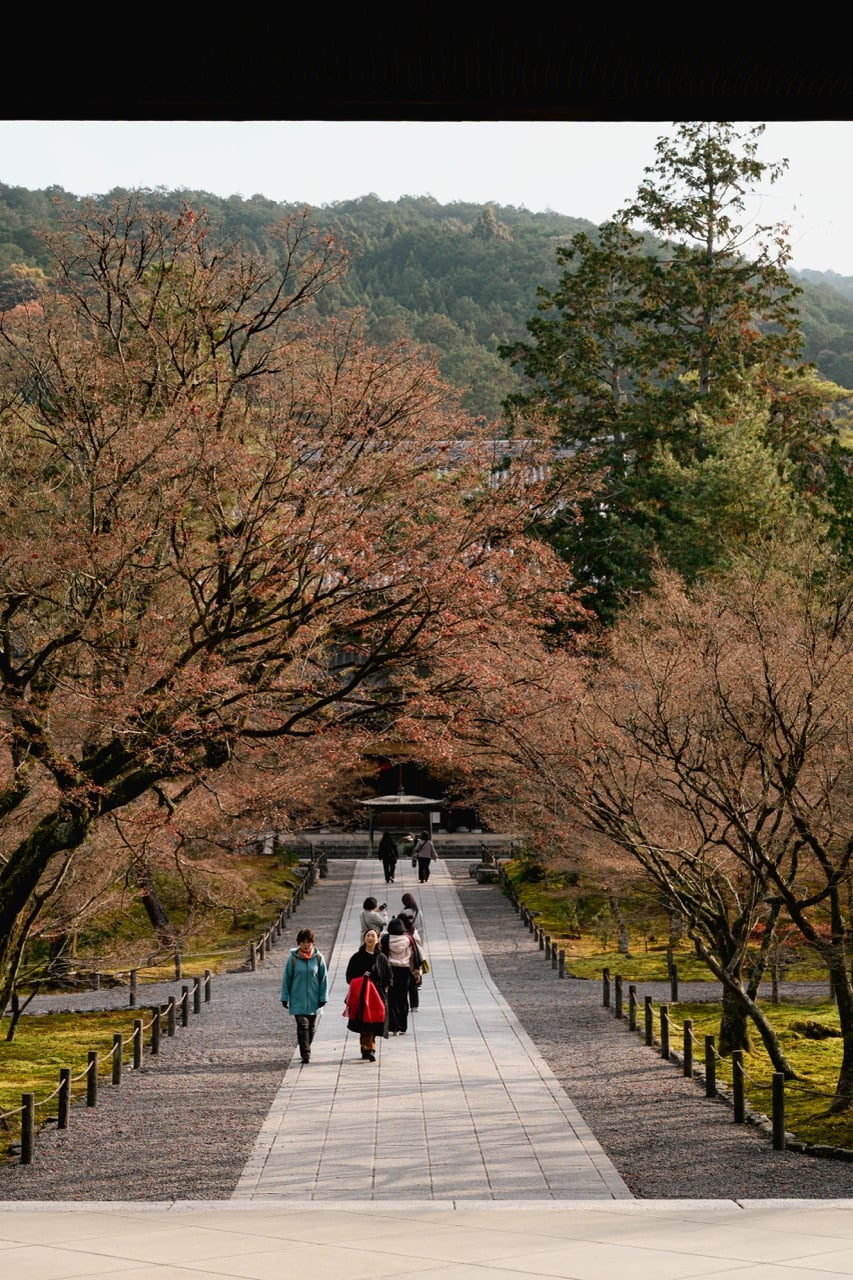
After visiting Nanzen-ji, you can then go onto the Philosopher’s Path. While hardly an unknown place, I do think it’s a bit underrated. Nanzen-ji is where part of the path starts, and you’ll find numerous restaurants along the way. So, if you’re feeling hungry, you can always stop by and eat at one of these.
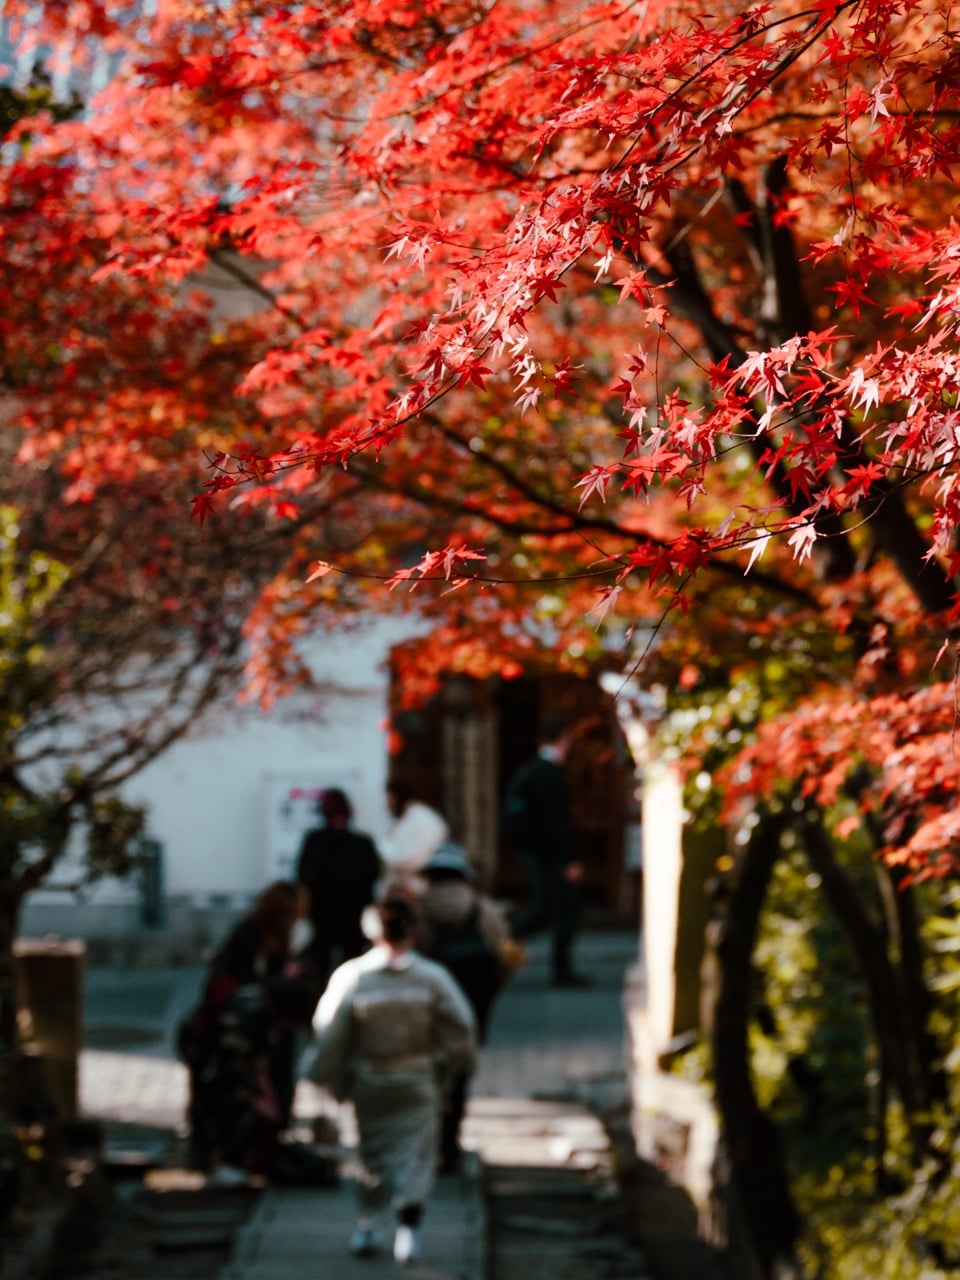
You can walk from one side to the other of this path in no more than 45 minutes. However, it isn’t really something I recommend rushing. On the way, you will find a number of temples and shrines that are worth seeing. Many are small, but you should definitely have a quick browse when something piques your attention. The Philosopher’s Path gets busy during the cherry blossom season, but it wasn’t so bad when we were there in December.
When you get to the other side of the Philosopher’s Path—at Ginkaku-ji—there are lots of really nice streets around the temple. You can also visit the temple itself for a small fee, too. If you’re in the mood for a break, you can go to Ginkakuji Matsubaya for matcha pastries and Sanzuian for coffee.
Late Afternoon & Evening
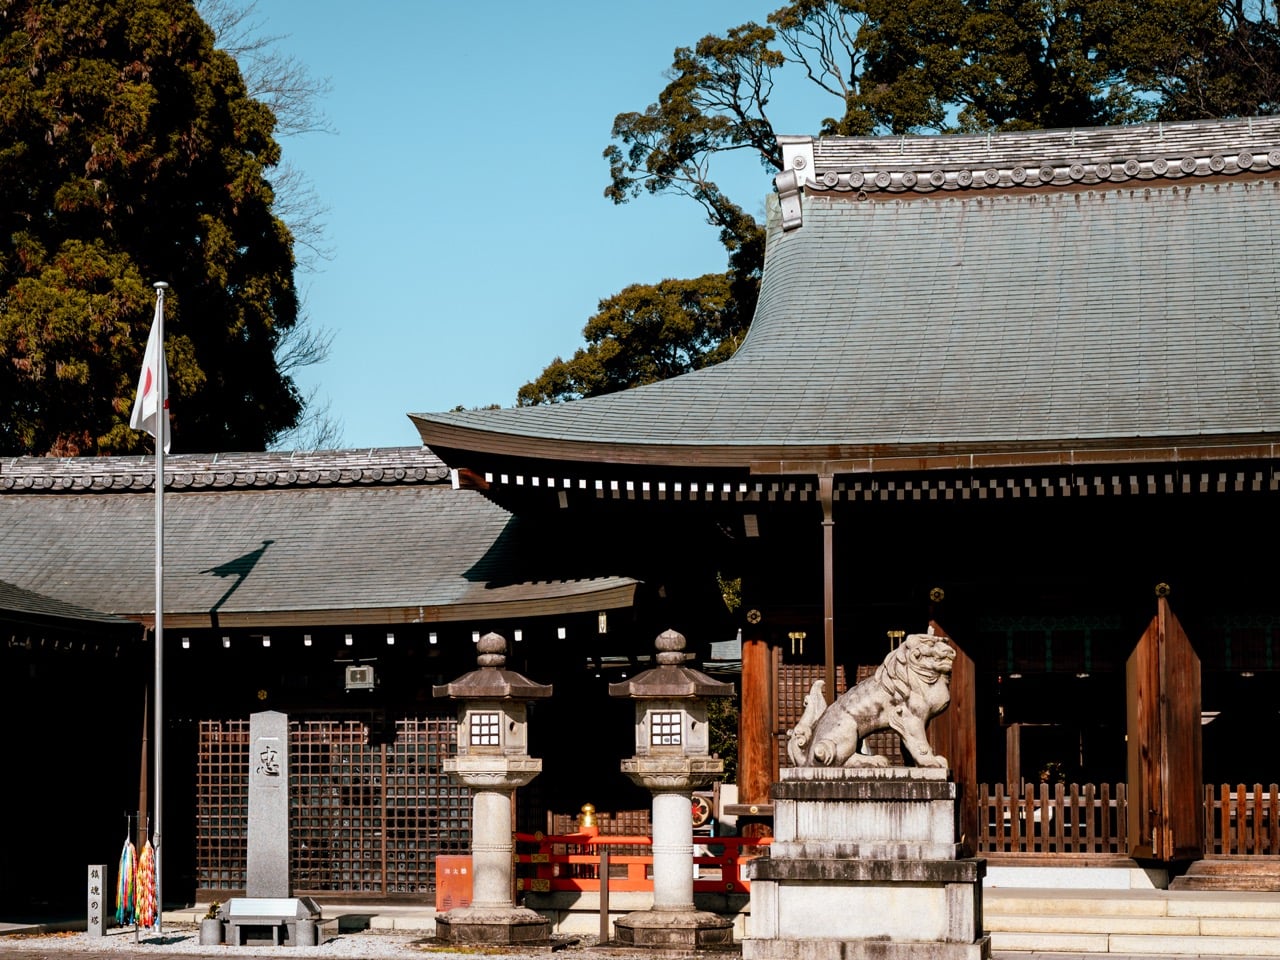
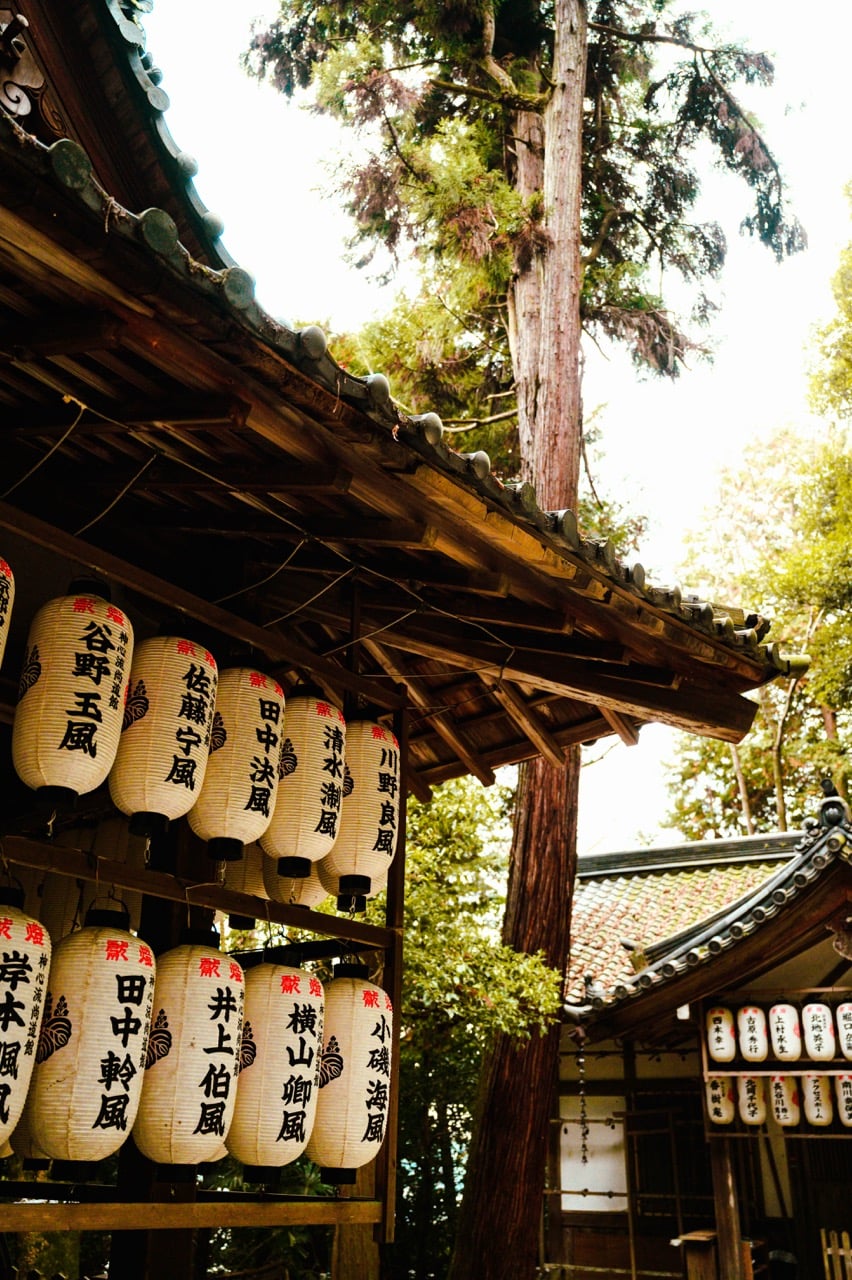
Later in the day, I’d suggest visiting the iconic Gion district. While I have to say that I prefer other parts of Kyoto, it is still worth seeing. The easiest way to get here is via Uber; it’s an 11-minute drive from the areas you were at earlier in the afternoon. Otherwise, you can take the city bus or—if you’re really feeling it—do the hour-long walk.
The main thing to do in Gion, in my opinion, is to walk around and admire the architecture. This is also the main Geisha district in the city, and you can watch a one-hour Geisha show if you’re interested. However, if you see them walking around the streets, you should not photograph them.
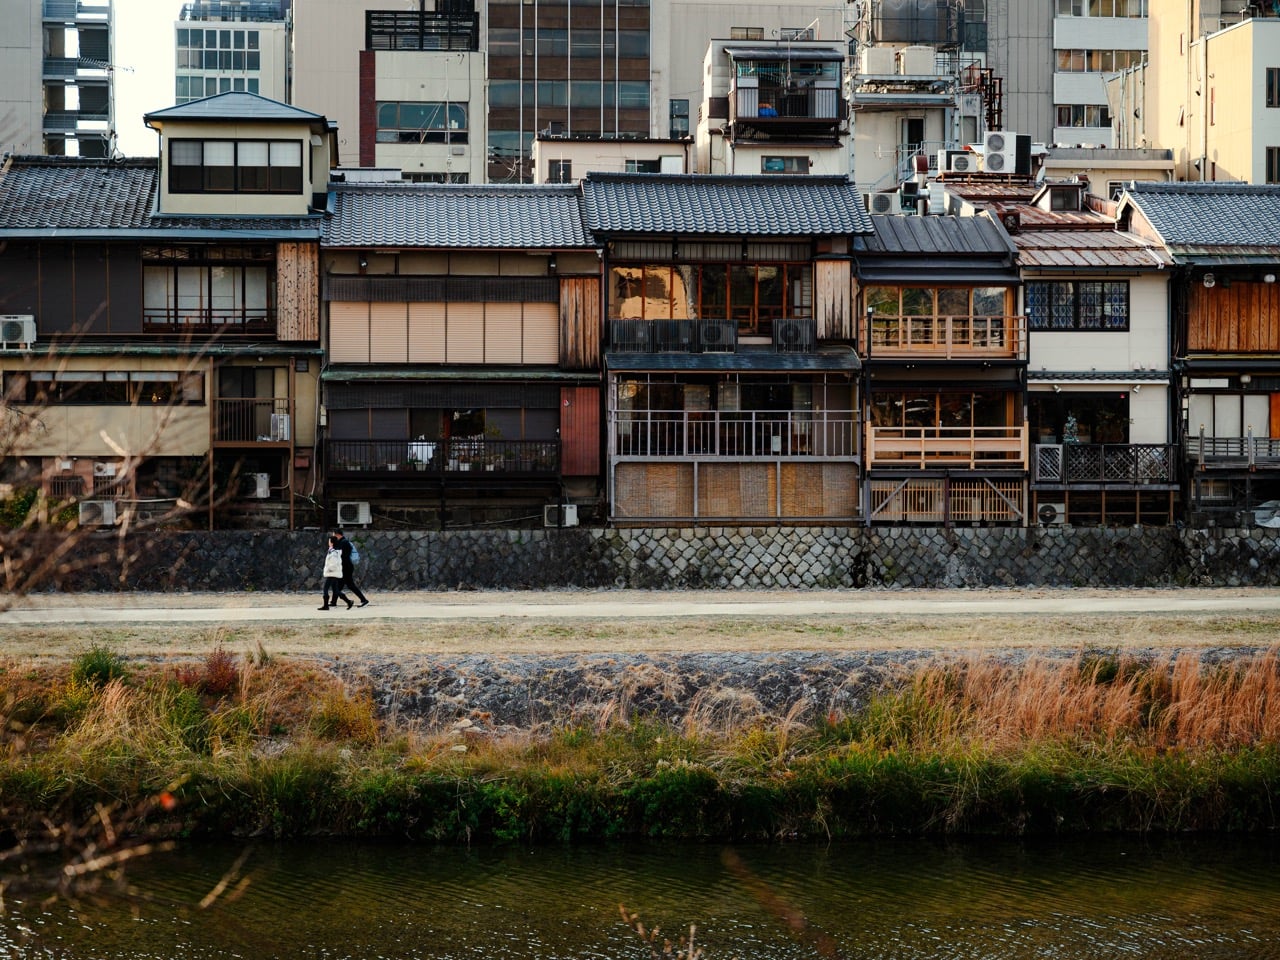
While you’re here, be sure to stop at the Yasaka Shrine and visit Maruyama Park, too. Afterward, I recommend wandering along the Kamo River for a bit and then finding a ramen joint when you’re ready for dinner. And if you want someone else to handle the food for you, you can join a food tour instead.

Day 3: Fushimi-Inari, Kyoto Tower, and To-ji
Just in case you hadn’t seen enough temples and shrines already, the third day of this Kyoto itinerary covers plenty more of those.
Morning: Higashi Hongan-ji Temple & Kyoto Tower
Sticking with the spirit of one morning being a sit-down breakfast and the other being on-the-go, we’re back to convenience stores this morning. Once you’ve got some food, we’ll then go to the Higashi Hongan-ji Temple. This was my absolute favorite temple in Kyoto, which says a lot considering the competition.
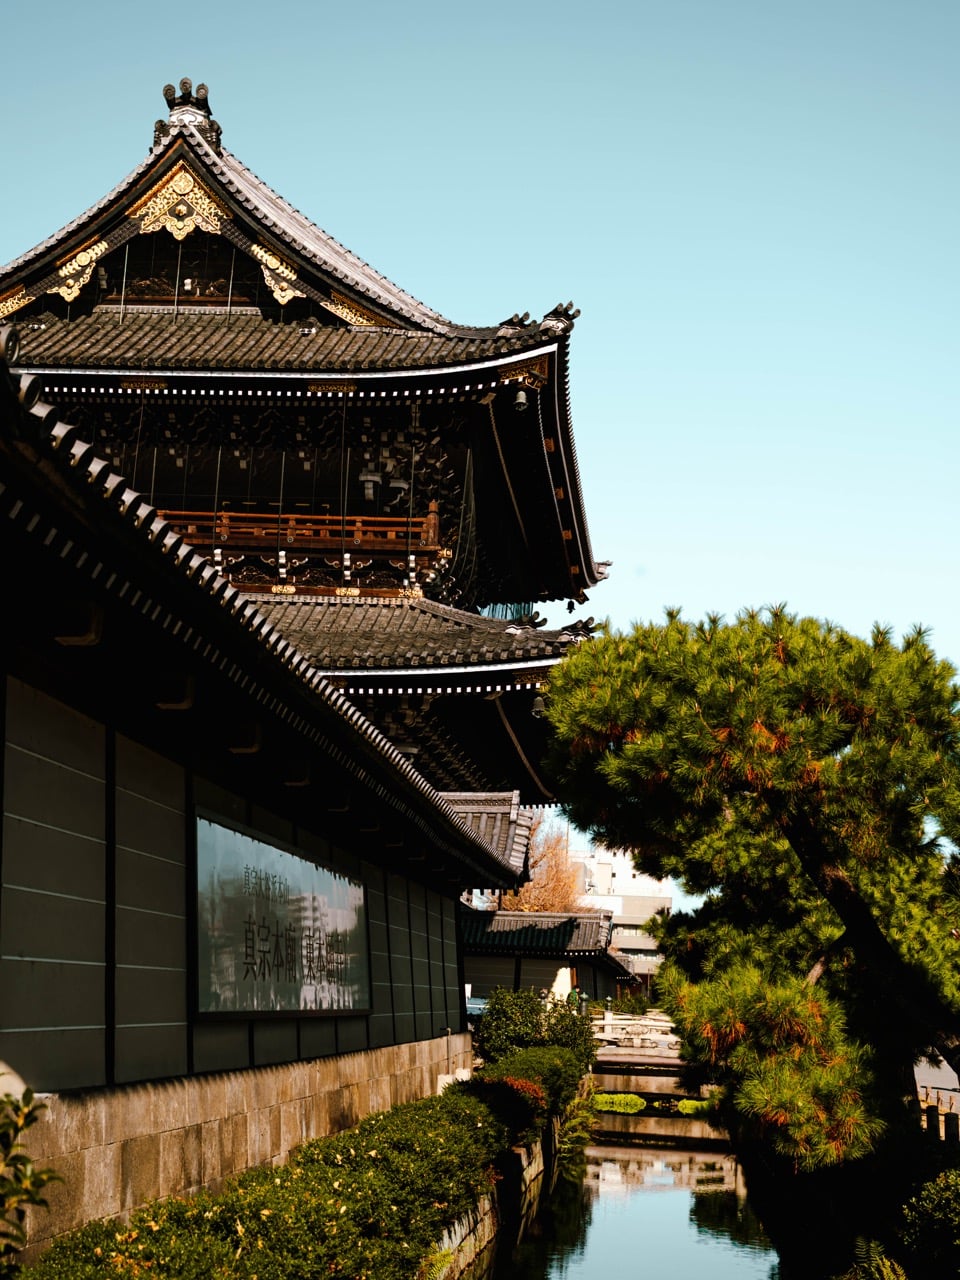
The grounds outside are pretty big, but I also recommend visiting the interior. You can do so for free or by making a donation. I always thought people were full of it when they said that visiting these places left them feeling something after, but I must say that I definitely felt spiritually fulfilled after going to Higashi Hongan-ji.
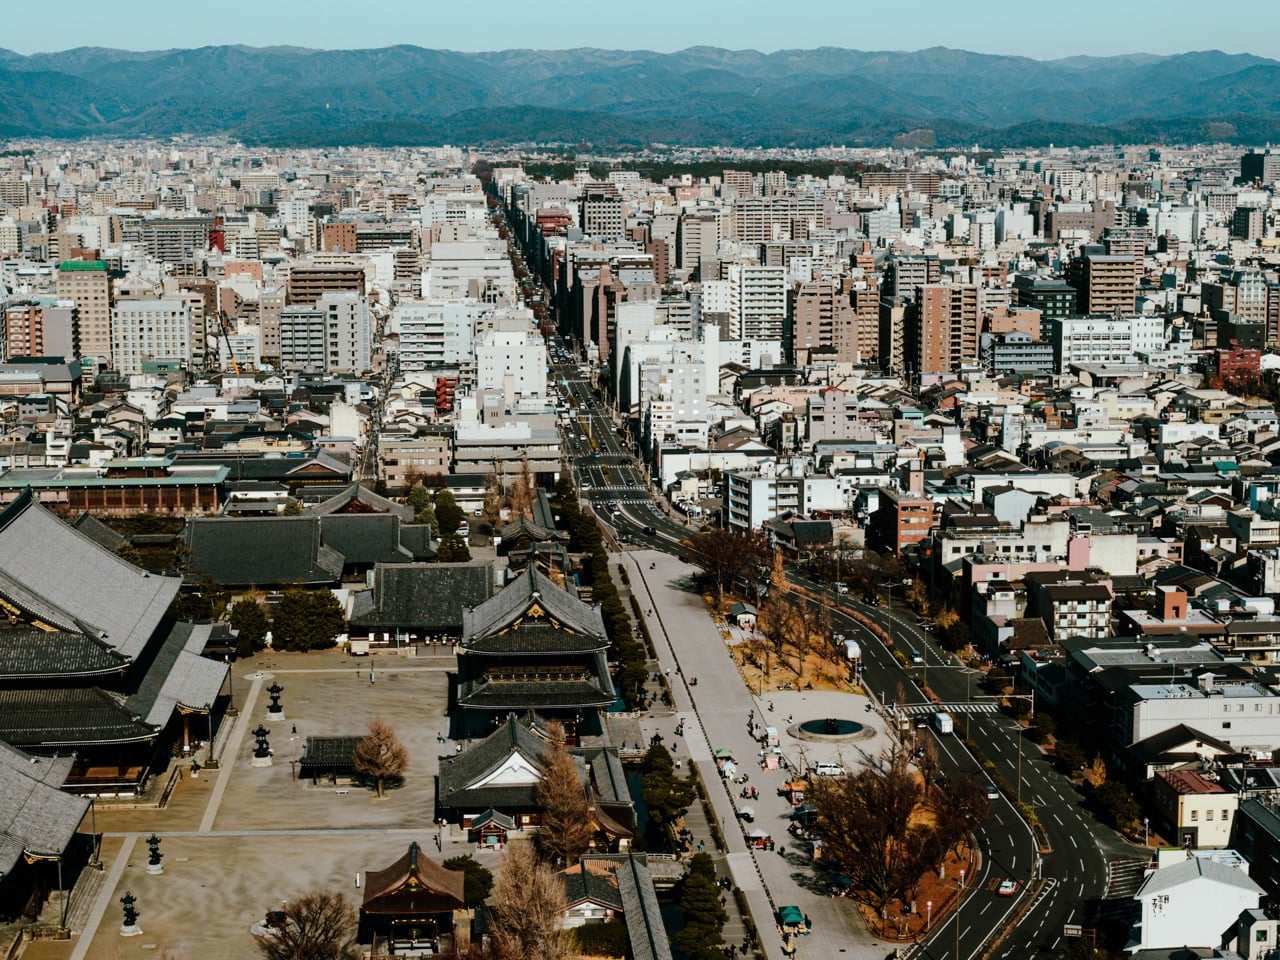
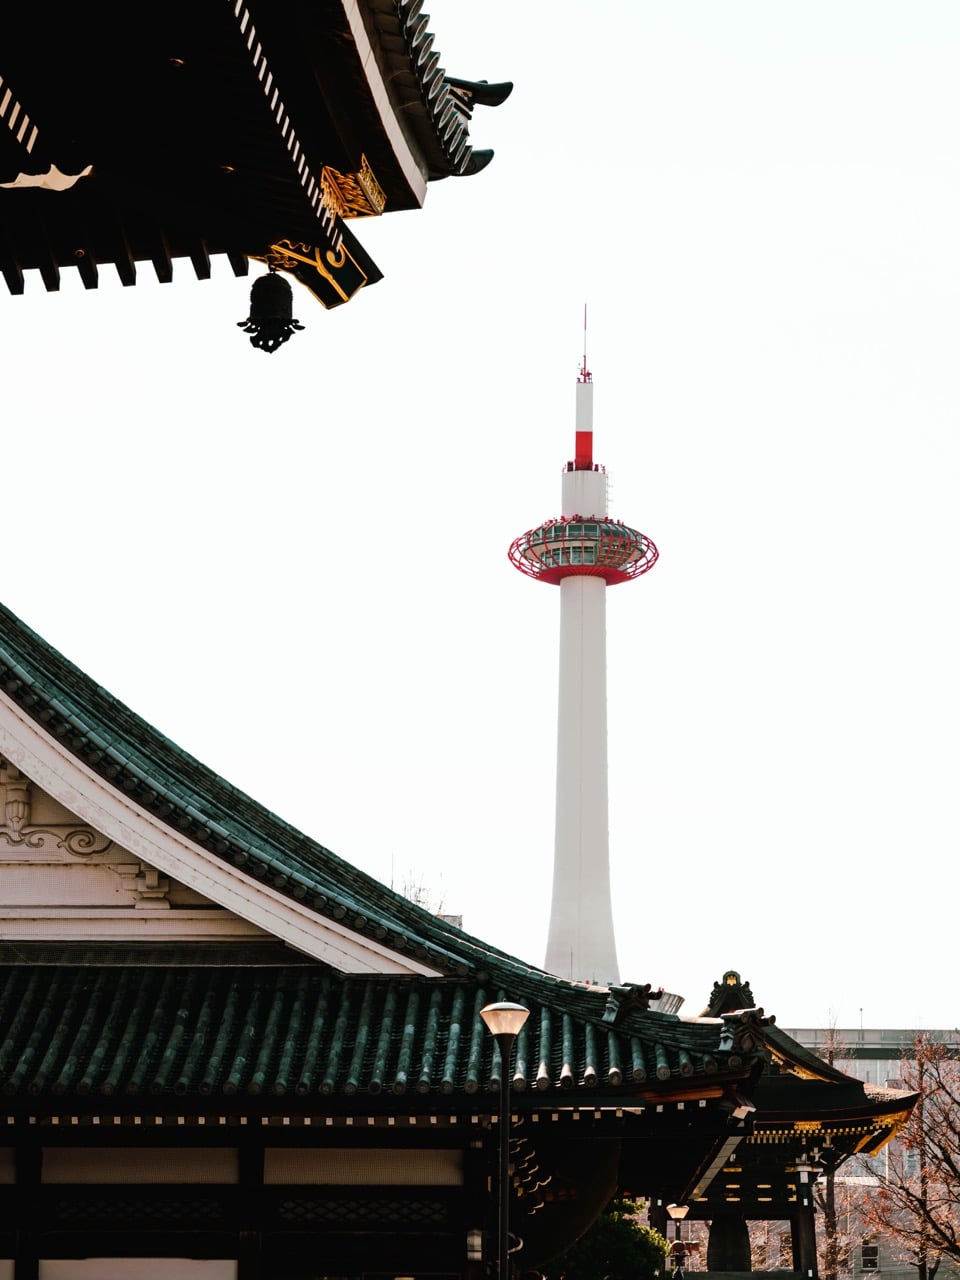
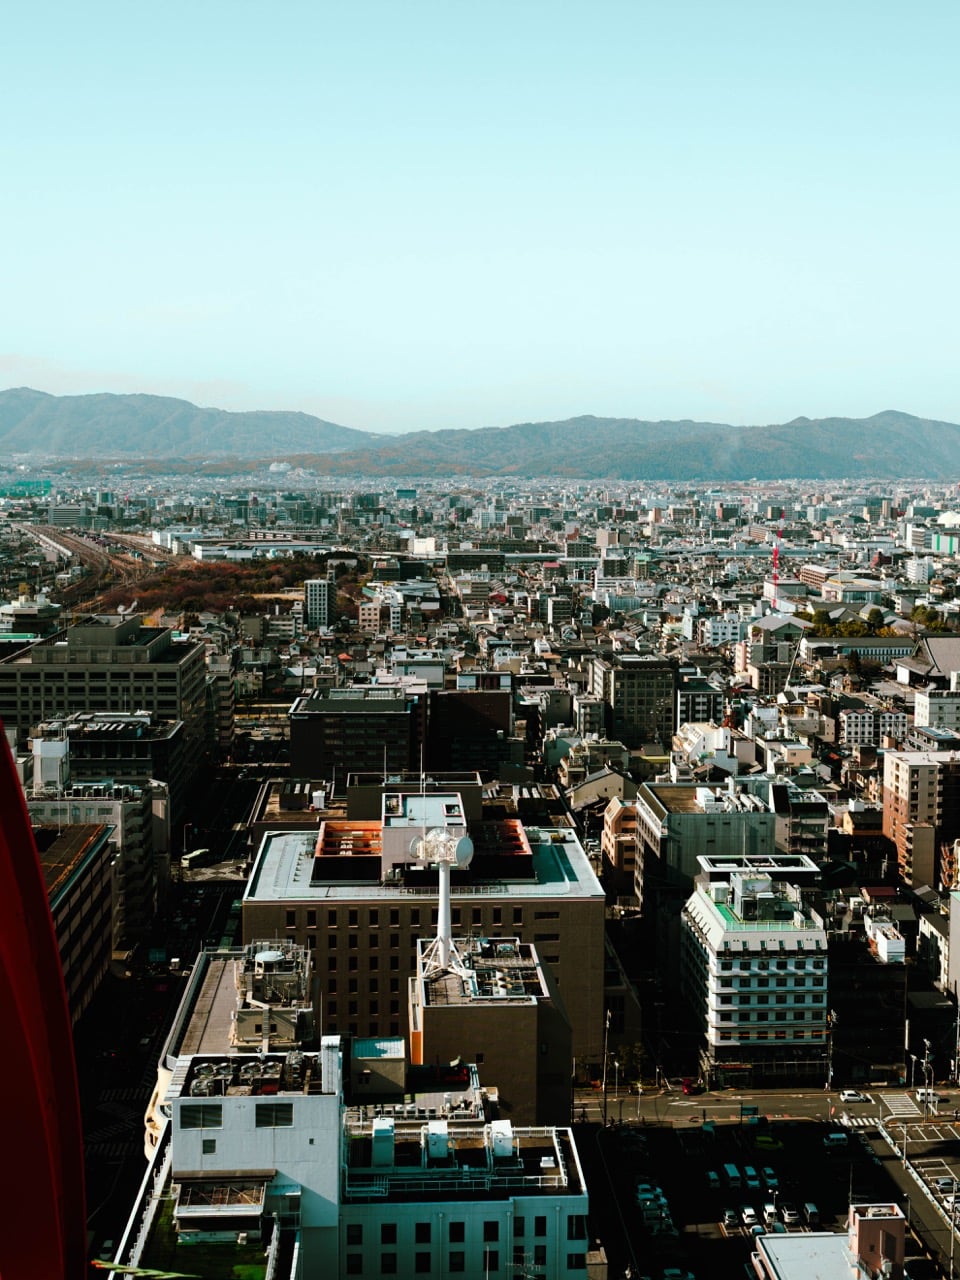
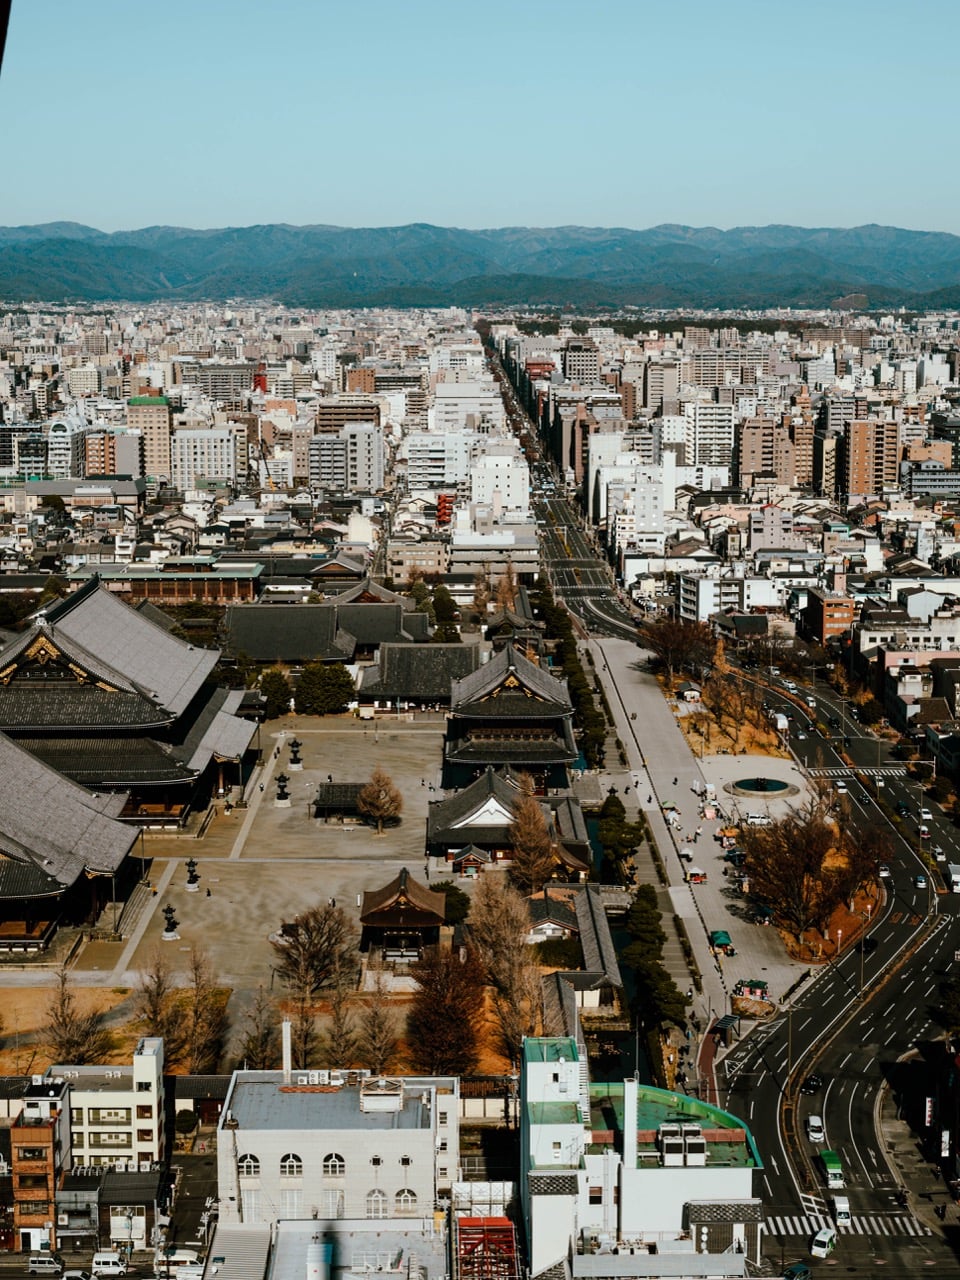
One advantage of Higashi Hongan-ji is that it’s very close to Kyoto Station and the Kyoto Tower. Once you’ve spent enough time at Higashi Hongan-ji, I then recommend visiting the Kyoto Tower’s observation deck. You’ll get excellent views of the city in all directions, including the temple you just visited. You can book your tickets in advance, which is what we did.

Afternoon: To-ji Temple and Head to Fushimi-Inari
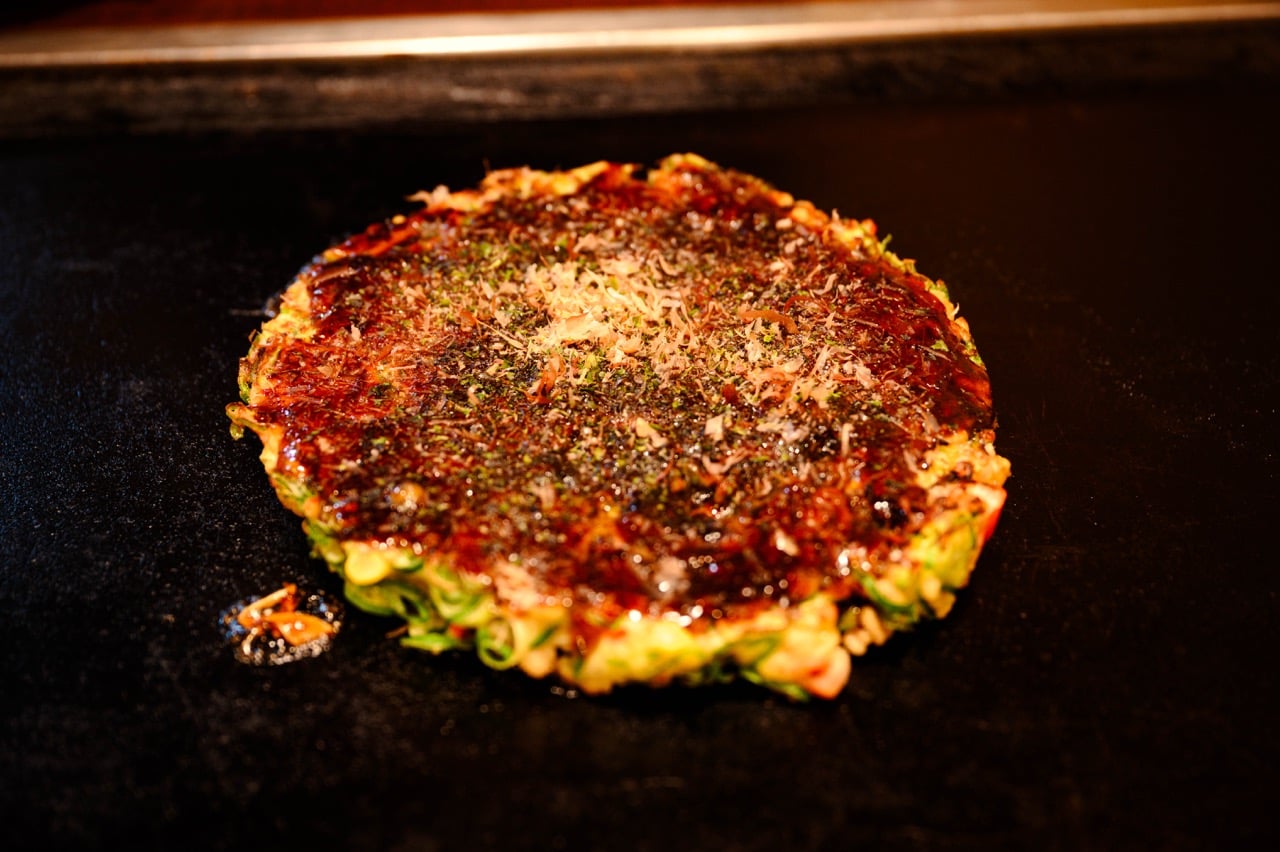
In the afternoon, I recommend going for lunch at Hana-Tanuki. It’s open from 14:00 on weekdays and 11:30 on weekends, so when you go depends on the day. Otherwise, there are plenty of other options around Kyoto Station. This restaurant has really good Okonomiyaki, which—while the dish itself is not from Kyoto—is worth trying. You can reserve a table via Google Maps. It was very busy when we visited (though this was in the evening, granted), so it’s definitely worth doing.
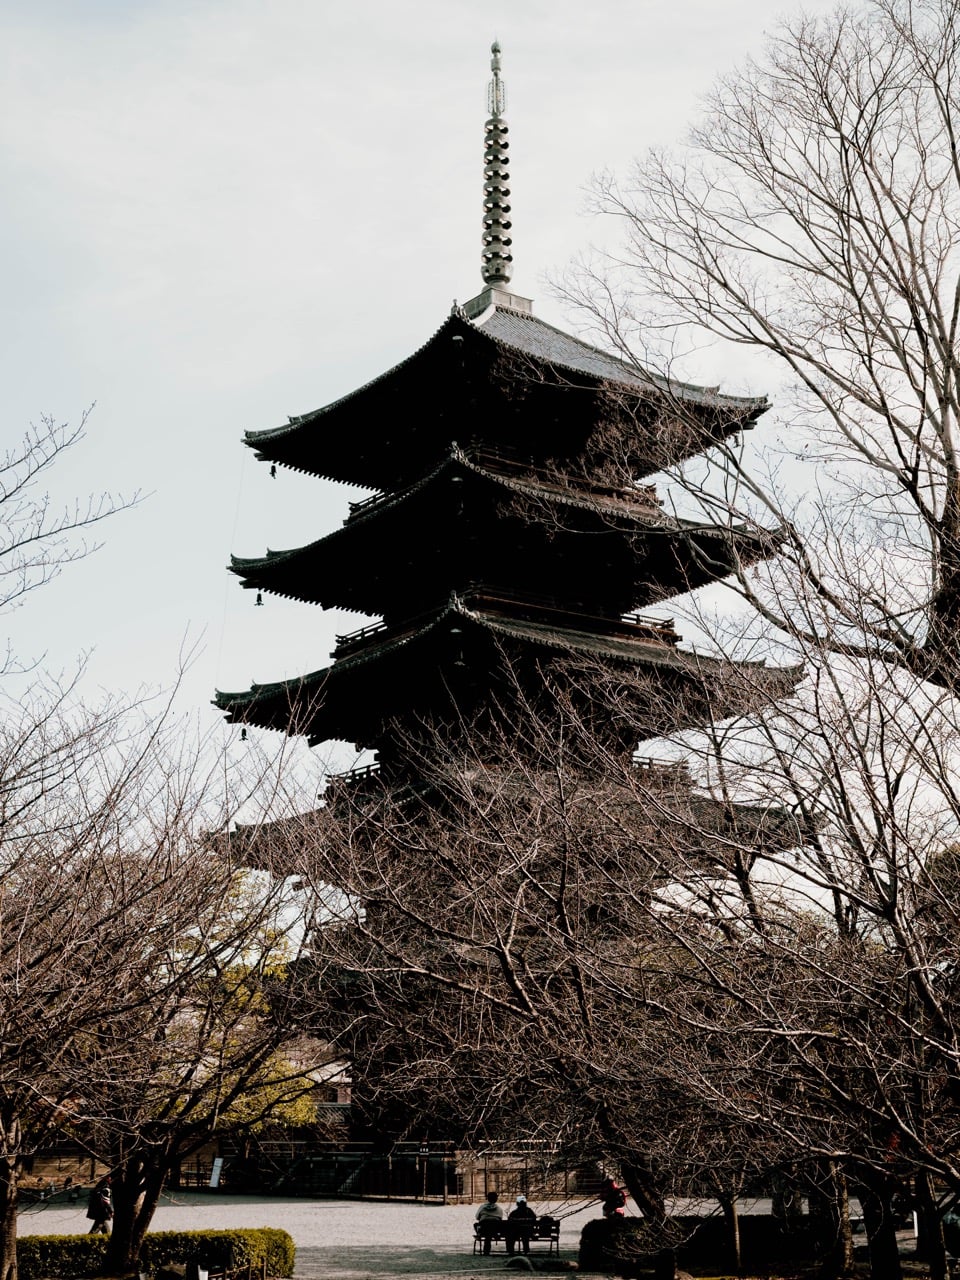
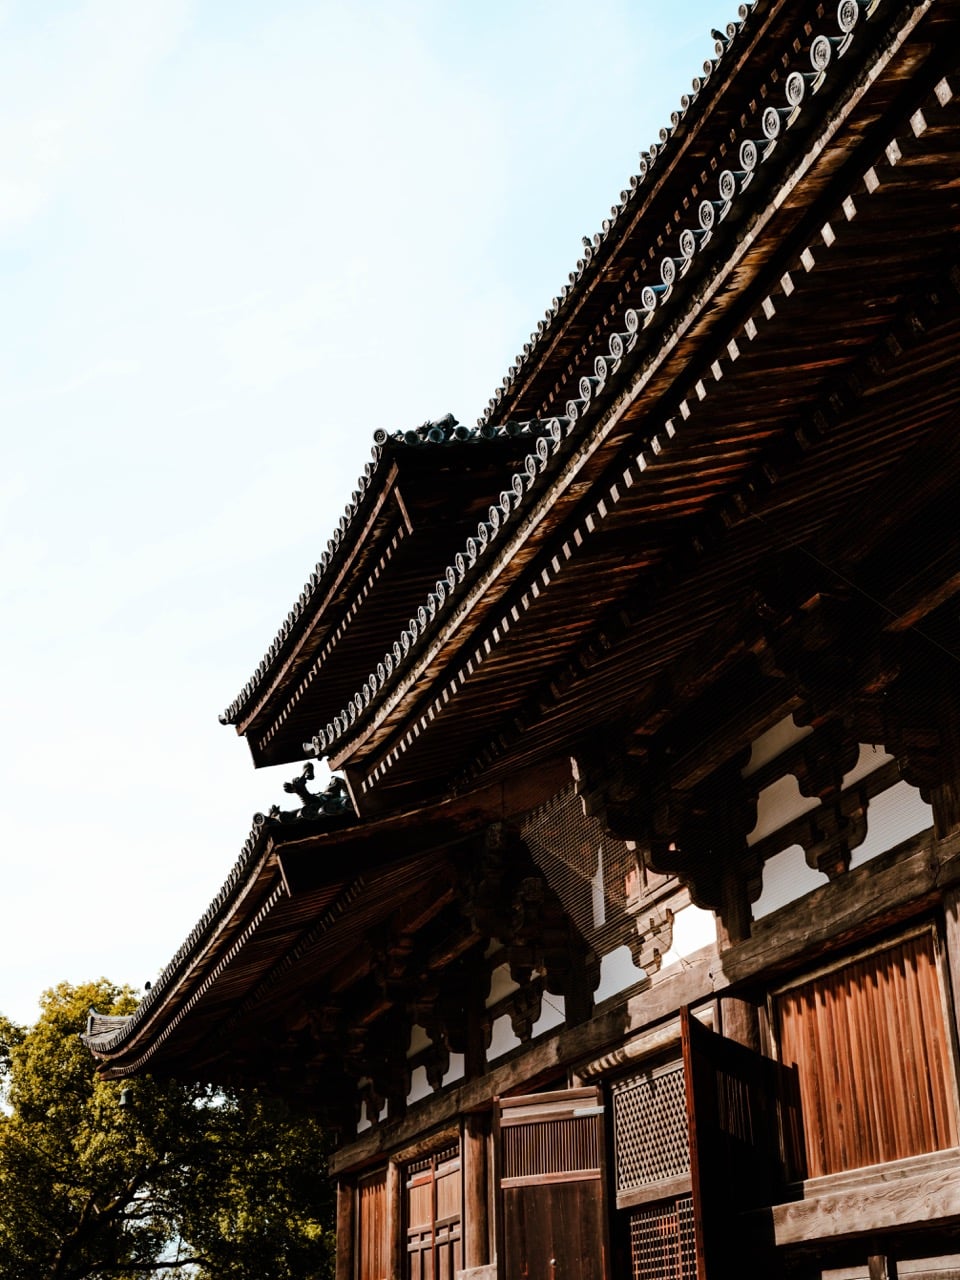
From here, it’s pretty easy to walk to the To-ji temple. We actually didn’t think we’d have enough time to visit it when we were in Kyoto, but I’m glad that we did. The walk there gets much nicer once you leave the area around the station, and the temple’s surroundings are nice. There is a very busy road outside, so it’s not exactly “tranquil”, but I personally still enjoyed coming here.
Once you’ve been to To-ji, you can then head to the Fushimi-Inari Gates. Uber is the easiest option, in my opinion, though you can also take the train or do the 50-minute walk.
Late Afternoon and Evening: Hike the Fushimi-Inari Trail and Explore the Surrounding Neighborhood
I don’t actually think you need to wake up super early to visit Fushimi-Inari Taisha unless you have no plans to hike. The bottom is very crowded, so if that’s all you’re planning to see, then yes it makes sense. However, I’ve added it to the evening of this itinerary because I do recommend also doing the walk. Plus, unlike To-ji, the gates don’t have a closing time.
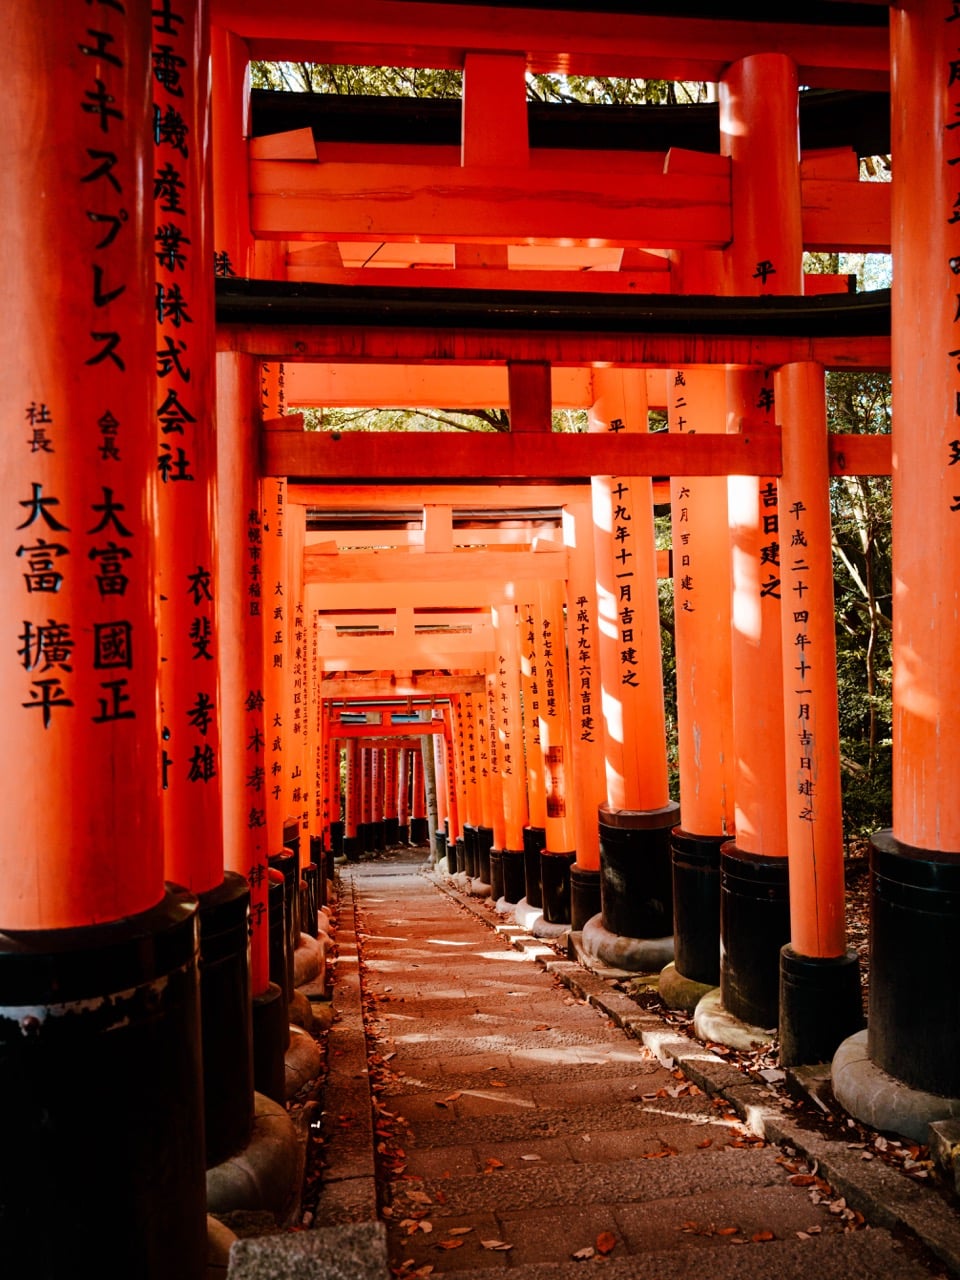
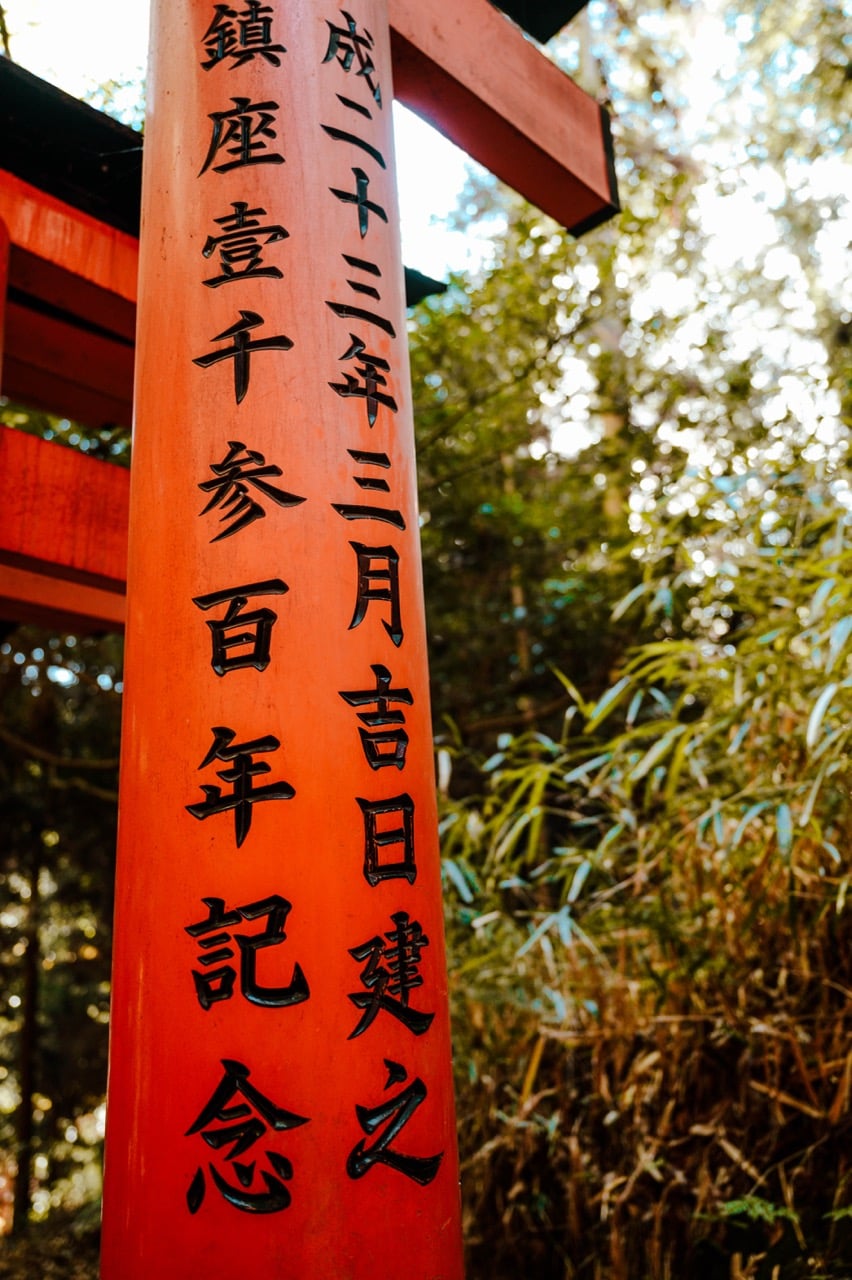
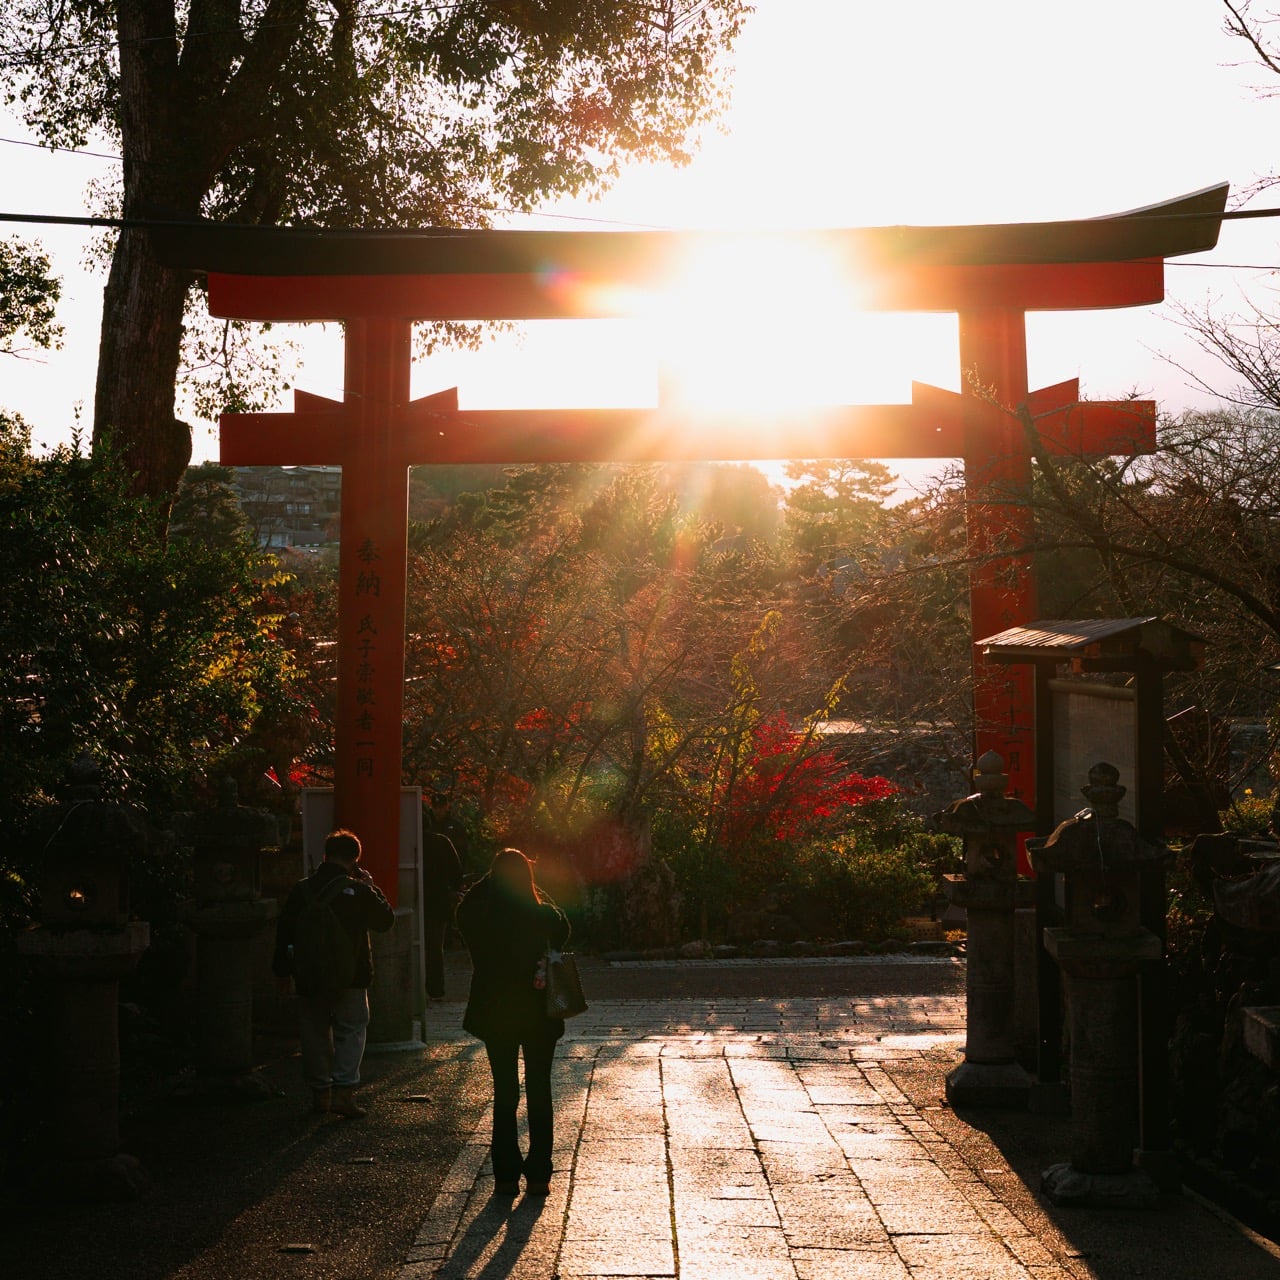
The Fushimi-Inari gates are just as stunning as they seem in the photos you’ve seen of them. While the crowds are heaving at the bottom of the gates, you only need to walk for 15-20 minutes upward to avoid them. After that, the crowds will thin out significantly.
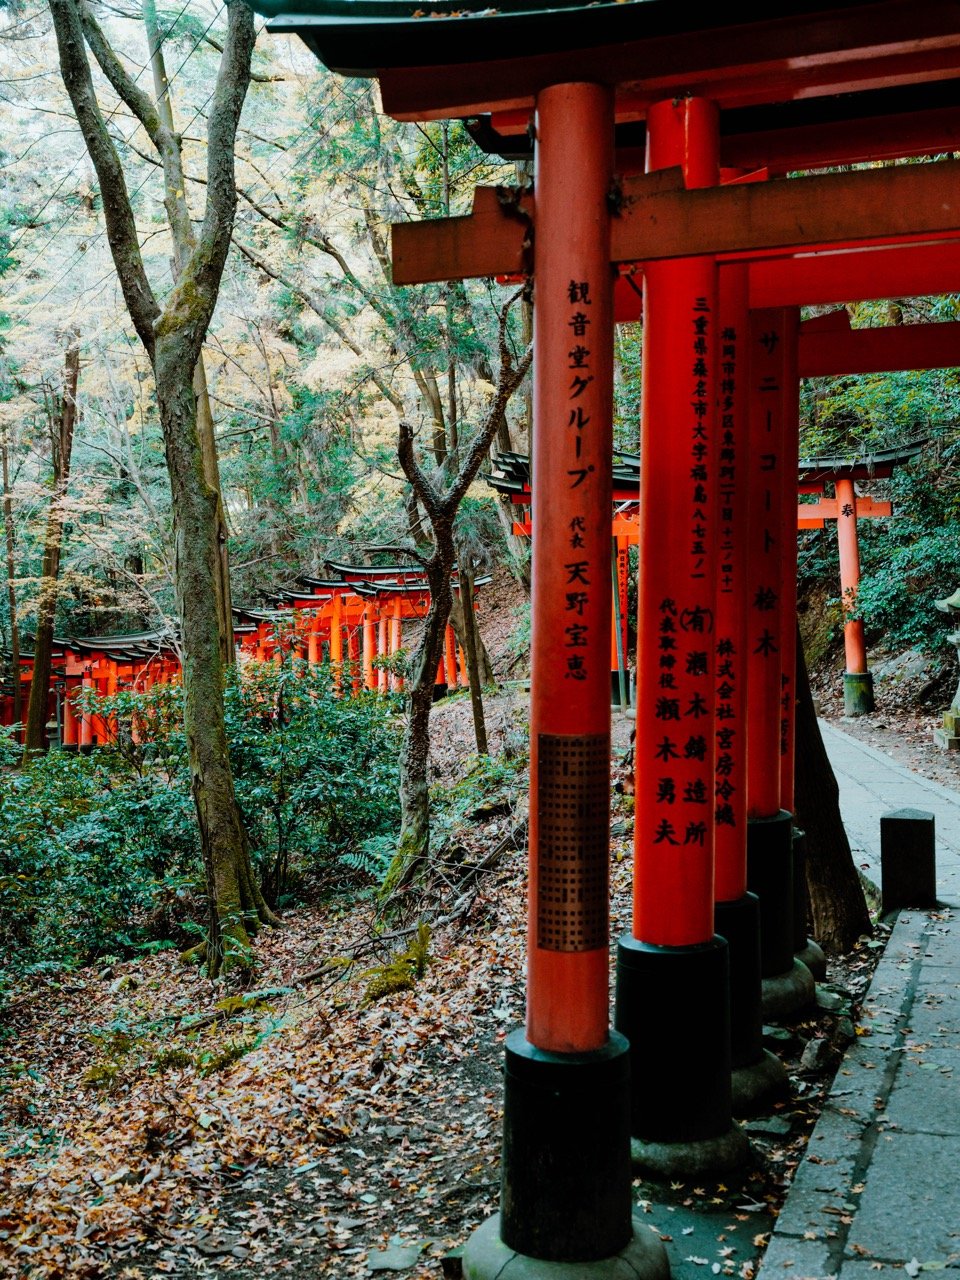
You can walk up the gates for free. While you’re here, I recommend also checking out the rest of the shrine’s grounds. These are also beautiful, and in total, we spent around three hours here (including the hike).
We went hiking here during the day, and I recommend the same. You can walk up at night, but you need to be careful as there are wild boars in the area. If you want to go at night, you can always join a guided tour.
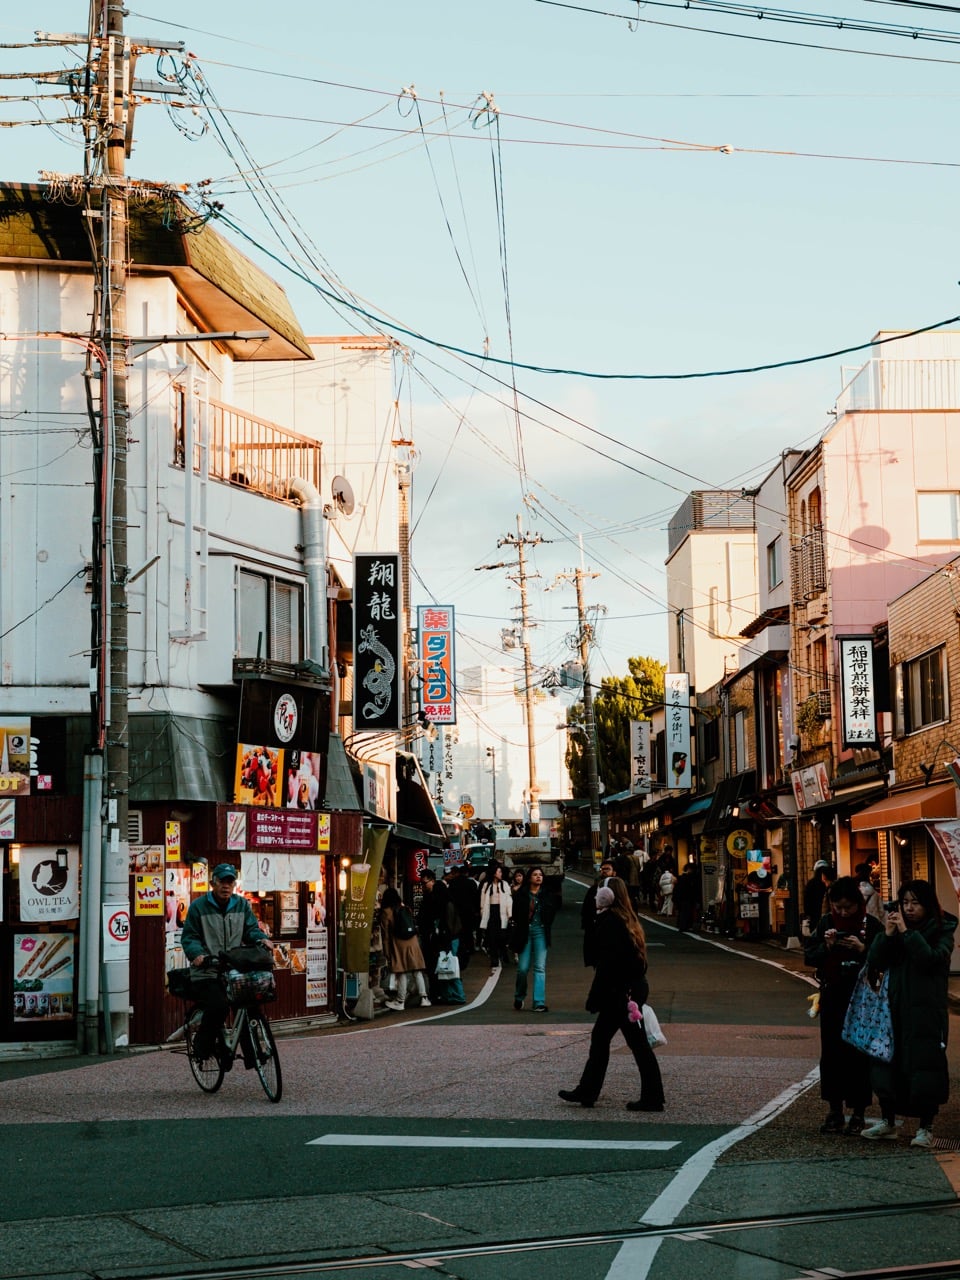
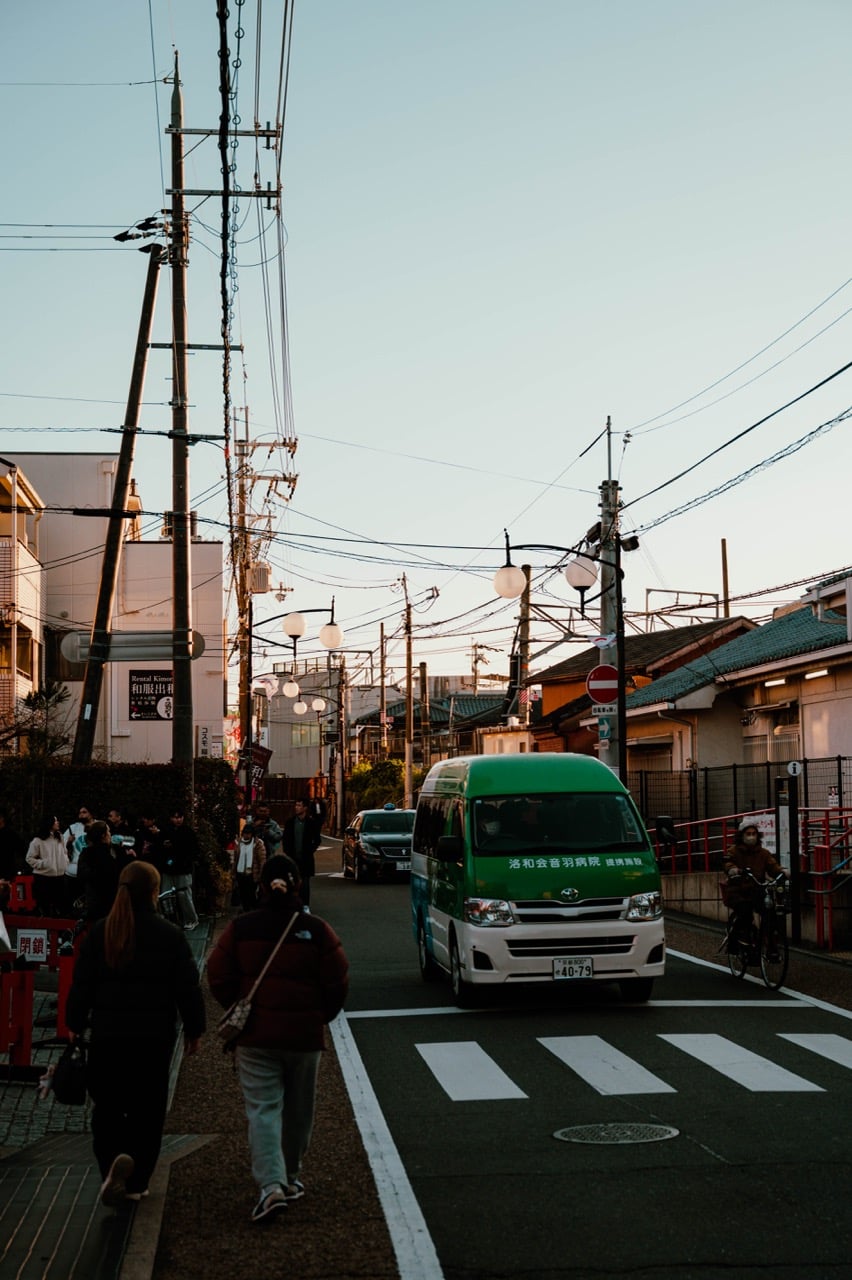
After visiting the shrine, the neighborhood close to the shrine is also worth your attention. You can then either take the train/Uber or do the longer walk along the river. We did the walk and have zero regrets.
Day 4: Nijo Castle, Face House
Most of the places on day four are close to where we stayed in Kyoto, and I really liked the area around our hotel. Even if we had been in another part of the city, we would inevitably have come here at some point.
Morning
To start your day, you can go for brunch at BREAD, ESPRESSO & (Google Maps location). This was one of the trendier places we visited in Kyoto, and while we had to wait for some space, it was a really nice brunch. Bring some comfortable trousers in case you need to sit on the floor, too. I recommend doing so, since it’s a pretty cool experience.
After eating breakfast, you can go to the nearby Nijo Castle. You can visit the castle itself for a fee, but the grounds outside will give you a nice view in and of itself if you aren’t overly interested.
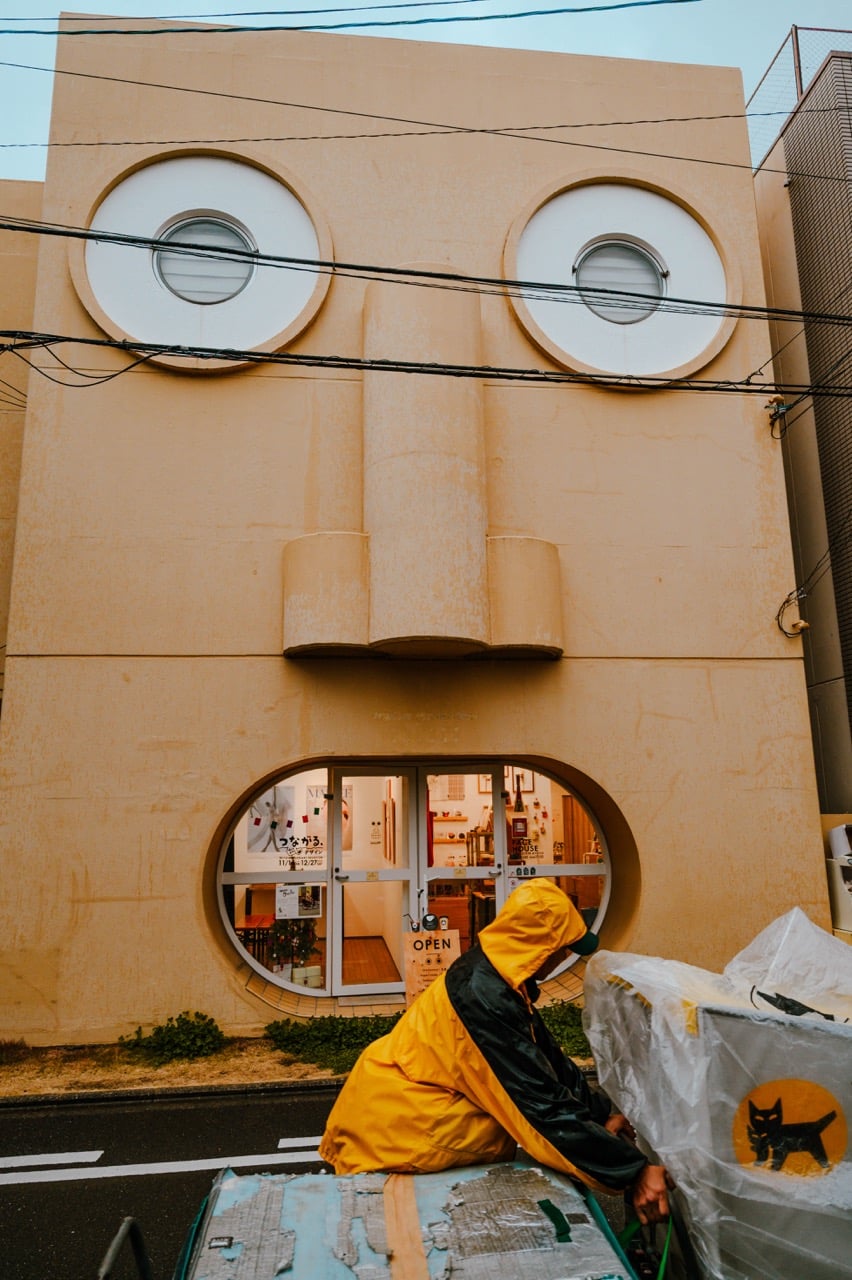
I also recommend going to the iconic Face House at some point while you’re in this area. We did so on a particularly moody day, which was great for me since I love rain. Maybe not so much for you, but it’s still worth coming here irrespective of the weather. The house itself is an interesting design, and while you’re there, I recommend going to the small design store in the building. Especially if it’s raining, as it goes.
Afternoon
Later in the day, when you’re ready to eat again, I recommend slowly making your way to Nishiki Market. The houses, streets, and other buildings along the way are mostly picturesque. Make sure that you stay out of the bike lanes, as I made that mistake a few times, and it’s very easy to do. 😄
When you get to Nishiki Market, there are a number of good food options. I do think the market is a little overrated, but for food, it’s worth coming to anyway—especially on your first trip to Kyoto.
Since you’ve done *a lot* on this trip, I suggest taking it easy in the afternoon and evening. You can choose whether you want to go for an aimless walk, do some souvenir shopping, or—if this is your last day in Kyoto—visit some of your favorite sights before you go.
What you do for dinner depends on what time you’re leaving, if this is your final day. If it was me in this situation, it would be konbini egg sandwiches and a random mixture of onigiris and whatever else for dinner. If you have an onward train elsewhere in Japan, you’ll find a number of food places at Kyoto Station. Given how big the station is, you should definitely arrive with enough time to spare before your departure.
Day 5: Take a Day Trip to Uji
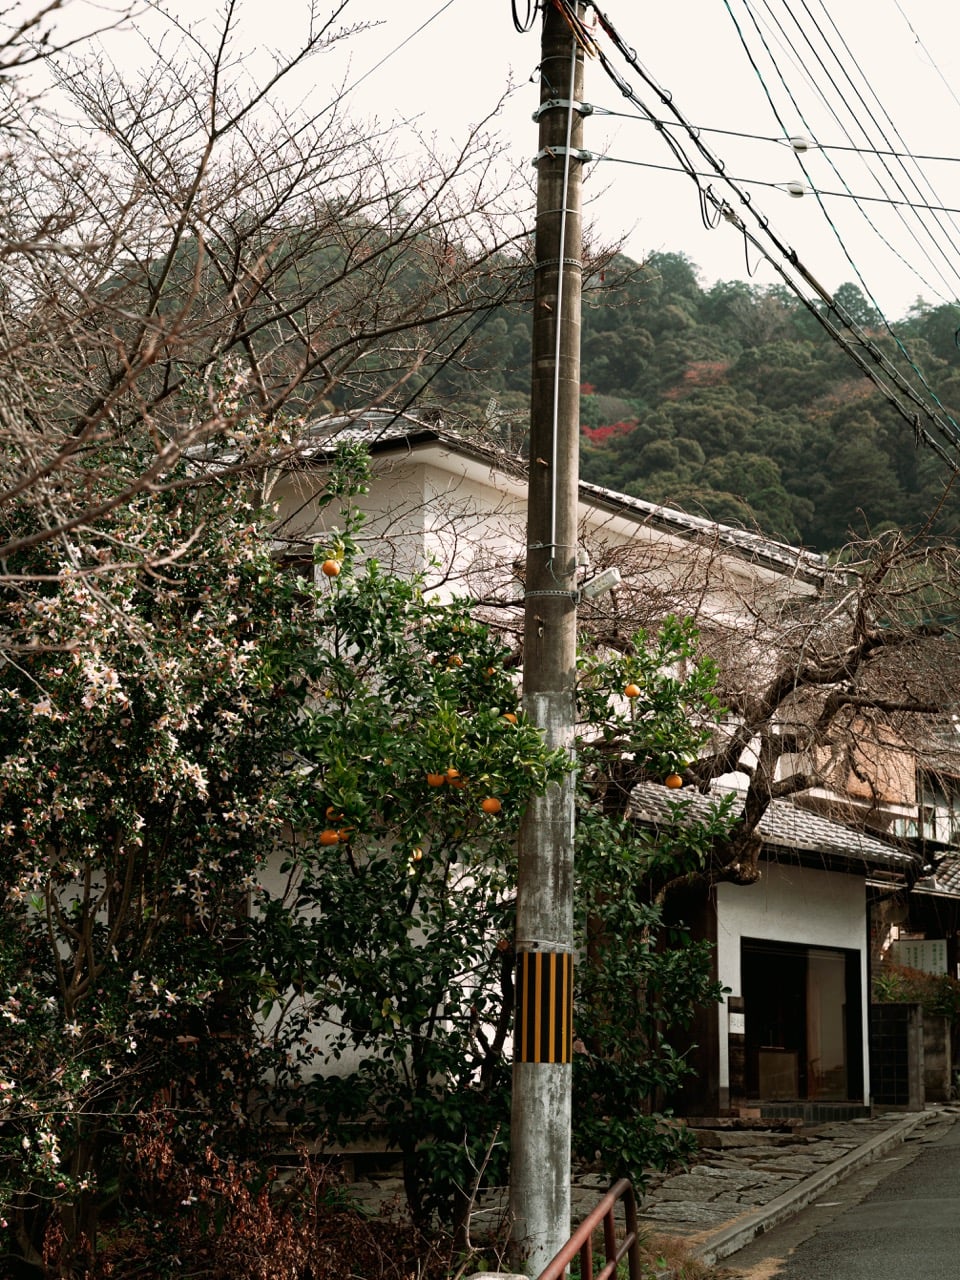
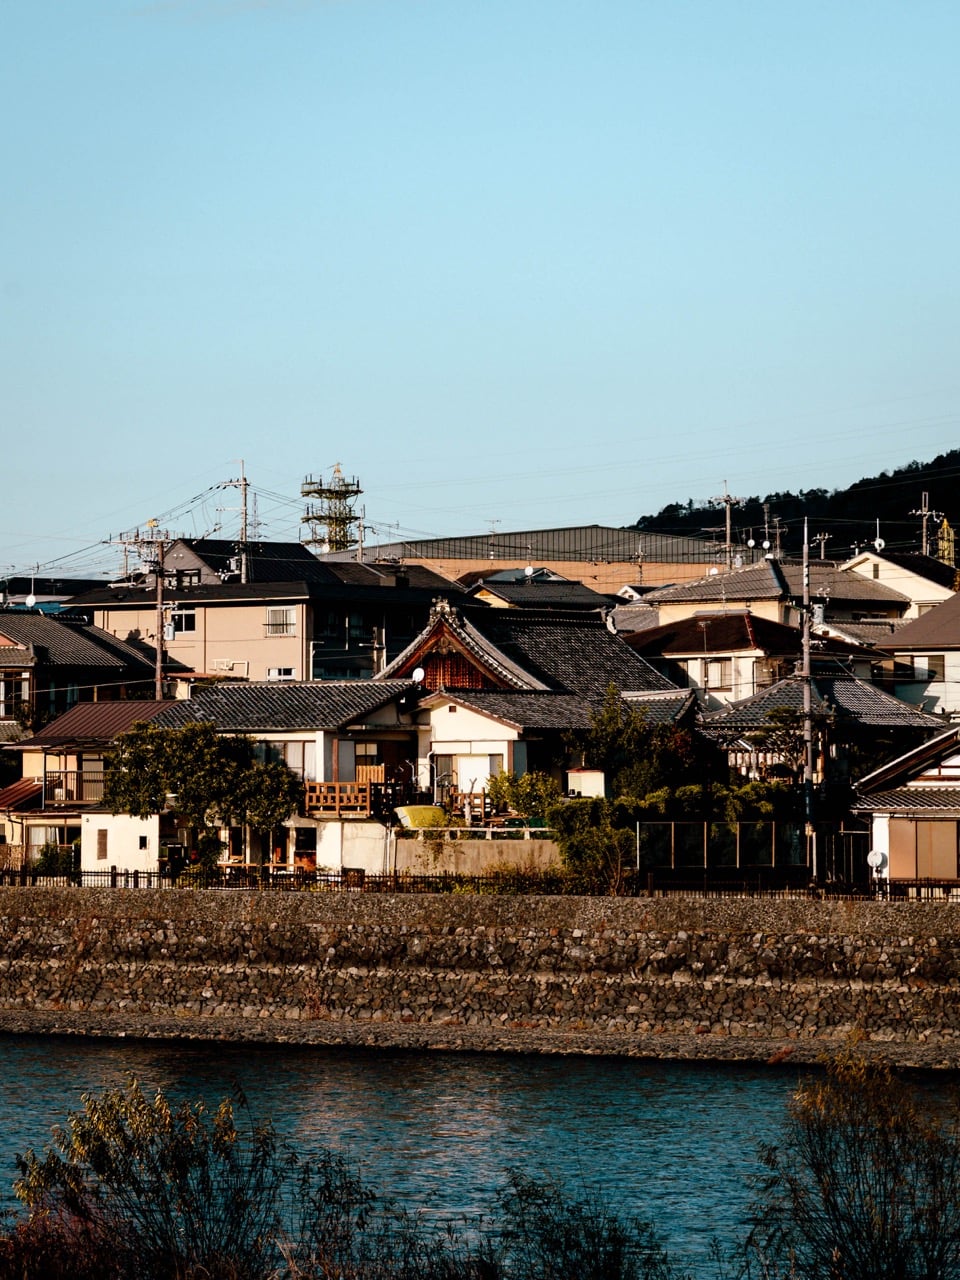
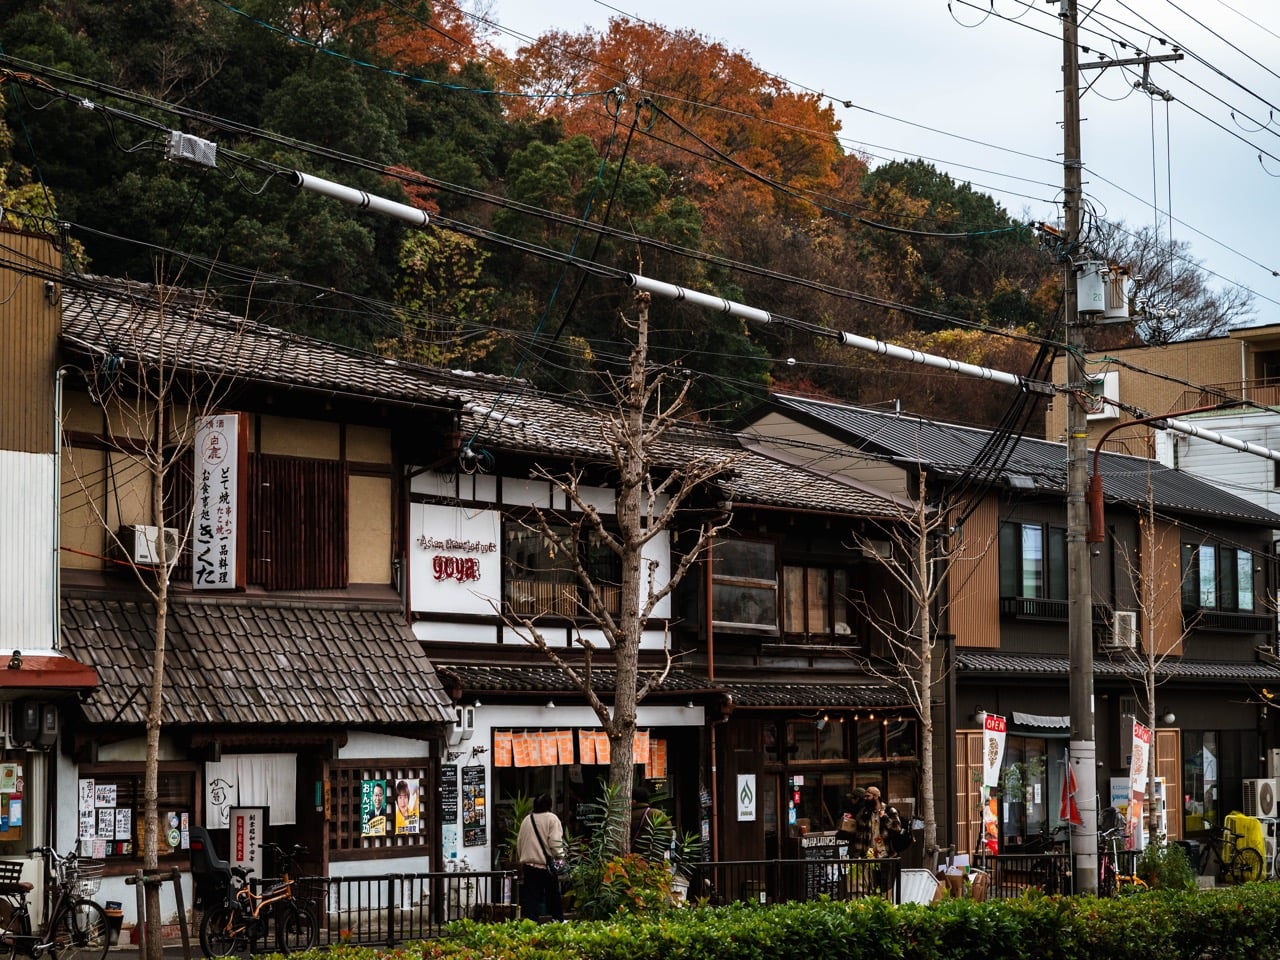
If you have a fifth day in Kyoto, I recommend taking a day trip to nearby Uji. This was actually one of our more spontaneous decisions, but it was such a pleasant surprise. Uji is what I imagined Kyoto would be like architecture-wise; it’s really beautiful, especially along the riverfront.
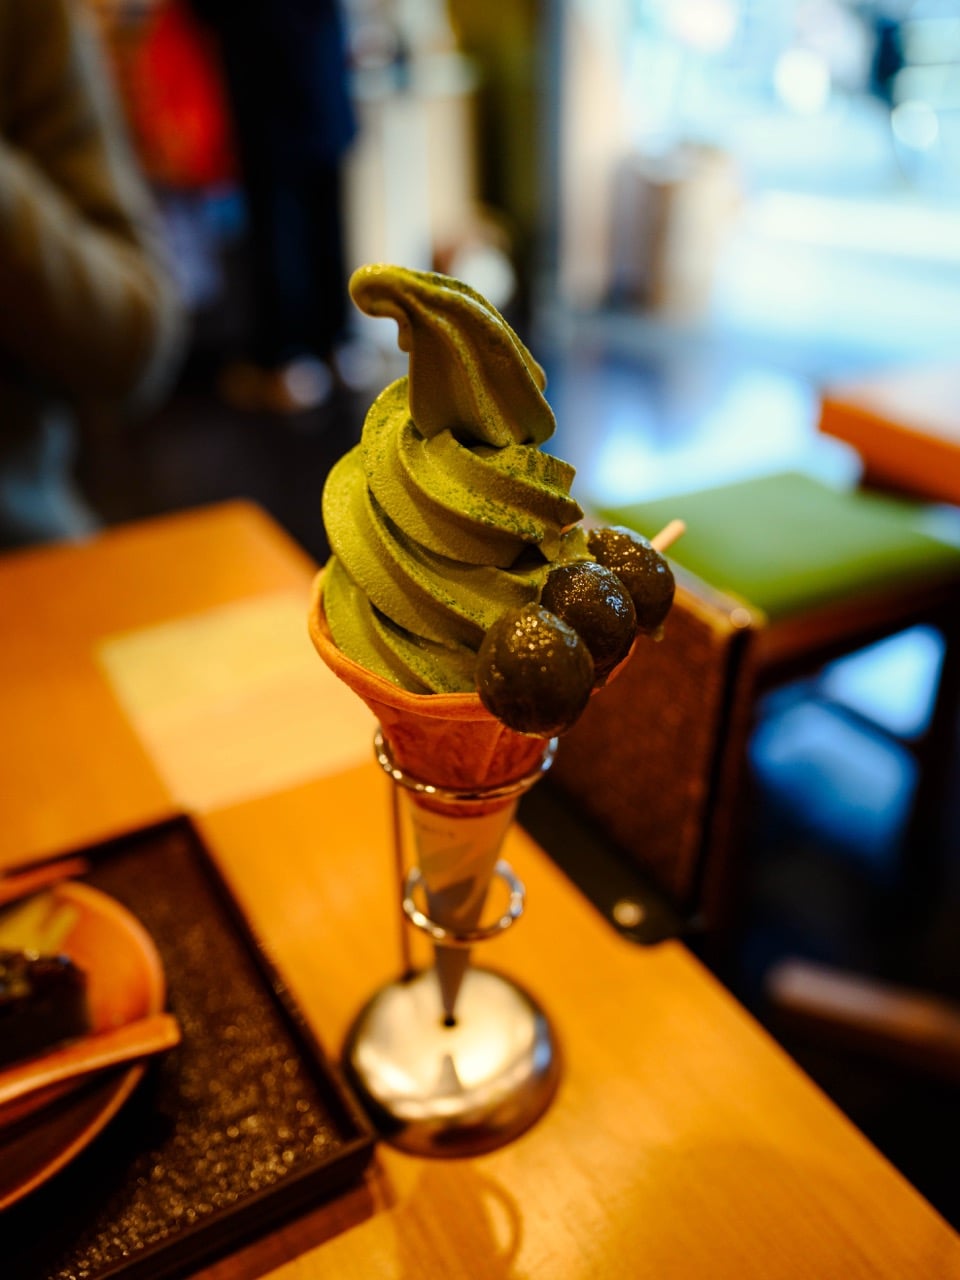
Uji is an important place for matcha, and you will see the stuff *everywhere*. We had matcha ice cream, for example, and also bought a lot of it to bring back home with us. The price of it will depend on where you go; some options can be super expensive.
Besides matcha, you’ll find a number of temples here and the Nintendo Museum that opened in 2024.
The journey from Kyoto Station to Uji takes roughly 15-25 minutes. You can take either the Nara Line or the Kintetsu-Kyoto Line. You can use your ICOCA Card to pay for the trip.
From Uji, you can get back to Kyoto easily or continue your journey to Osaka. If you’re visiting Tokyo next, and you’re on a tighter schedule, you can visit Uji on the fourth day of your Kyoto trip instead of the fifth.
More Useful Information for Your Kyoto Trip
Now that you’ve got a better idea of how to spend your days in Kyoto, I’ll give you some more information that will help you make the most out of your trip.
Here’s Where I Recommend Staying in Kyoto…
We stayed at KAYA Kyoto Nijo Castle, and I recommend that you do the same. Besides being in a convenient location, it was a super nice hotel. The price was very reasonable (we paid just over $300 *in total* for four nights, excluding the tourist tax), and I loved the design of our room.

The hotel is close to a Subway station, and there are also plenty of things to do in the immediate area. The staff were also helpful when we visited; in the instances where there was a language barrier, they used an app to communicate.
One thing worth mentioning: When you stay in Kyoto, you’ll need to pay a small tourist tax on top of your nightly stay. We had to pay this when we arrived at the hotel. The amount you pay is per person and will depend on how much your stay costs.
I visited in December 2025, but higher rates came into effect from March 2026. The current tax rates at the time of writing are:
- Below ¥6,000 per night: ¥200 per person
- ¥6,000 to ¥19,999 per night: ¥400 per person
- ¥20,000 to ¥49,999 per night: ¥1,000 per person
- ¥50,000 to ¥99,999 per night: ¥4,000 per person
- ¥100,000+ per night: ¥10,000
If you want to browse all of your other options, you can do so via the map below.
Should I Get an eSIM for My Kyoto Visit?
I used Google Maps and Uber way more than I expected in Kyoto, and I was so happy that I got an eSIM beforehand. This was also the case when we stayed in Tokyo and went to Osaka, too.
I personally used Saily when I was in Japan (I wrote a full review about my experience here). In short, I didn’t have any major issues and would recommend that you do the same. You can get an eSIM here, and if you use my code DANNYCPH, you also get a nice 10% discount. 🙂
Getting to Kyoto
How you get to Kyoto depends on where you’re coming from. We personally traveled here after spending some time near Mount Fuji in Kawaguchiko. We took a bus from Kawaguchiko to Mishima, and then the Shinkansen from Mishima to Kyoto. We used Japan Bus Tickets to book the bus and then Klook to purchase our Shinkansen tickets. I recommend getting tickets that include luggage unless you’re using a luggage transfer service.
From Osaka, you can take a regional train and pay with your ICOCA card. You don’t need to book these tickets in advance, and I wouldn’t recommend taking the Shinkansen for this journey as it makes very little difference.
If you’re arriving in Kyoto from Tokyo, you can take the train or bus. You can find and book Shinkansen tickets before you travel, which is how I would personally travel between the two cities. You can compare train and bus ticket options via Omio if you’re on the fence; I’ve added the widget below for easy access.
Kyoto Was the Most Expensive City We Visited in Japan
I didn’t find Japan particularly expensive in general, but then again, I live in Scandinavia. So, “expensive” is subjective. However, I felt like Kyoto was the most expensive city we went to in Japan.
We obviously paid more for transport since we used Uber, so that part is on us. However, I also felt like the food places we went to cost more than they did in Tokyo. The same was true for other things, such as coffee; for what it’s worth, we also went to some “trendy” cafés in Tokyo.
Again, it’s not going to feel unbearably expensive if you’re visiting from somewhere like the US or Western Europe. However, I would budget a bit more for your spending money in Kyoto. And that’s not including the souvenirs that you will inevitably buy.
Bring Cash for the Temples
If you’re used to paying by card everywhere, Japan will be a bit of a culture shock. You can definitely pay in many places with Visa or Mastercard, but not everywhere. And if you’re planning to visit the temples in Kyoto beyond the free areas, you will need physical cash.
You can withdraw money at most convenience stores, so this isn’t a major issue. I do recommend having around ¥10,000 on you, which is more than enough for spontaneous temple visits and restaurants that don’t accept cash. Those that do accept cards will often take cash as well, so you won’t struggle to spend it.
… And If You Want to Avoid the Crowds, Doing So Is Easy.
Yeah, this one is a bit controversial. But I know what I said, and I meant what I said.
I know that I visited in December, which is by no means the peak tourist season in Kyoto. But to be totally honest, I found it laughably easy to find places without the crowds.
Whenever we were in the busiest parts, the crowds were significantly smaller if we literally just walked for 1-2 streets. And while the city being spaced out is annoying for getting around, it does make finding your own spots away from lots of people very easy.
I really recommend following your curiosity and allowing yourself to get lost in Kyoto. It doesn’t take a huge amount of effort to dodge the crowds, and you also don’t need to wake up at some ungodly hour to do so.
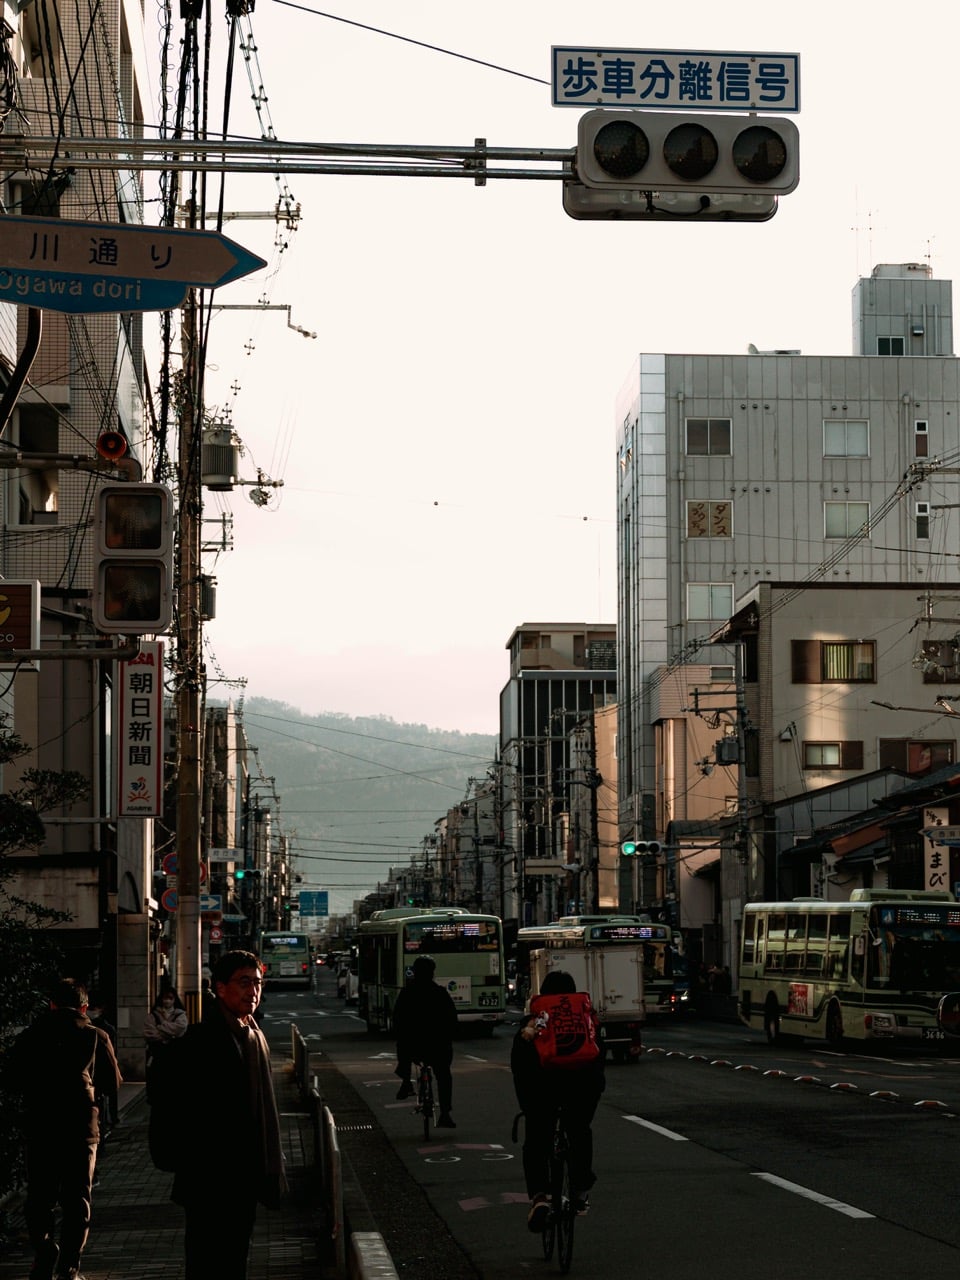
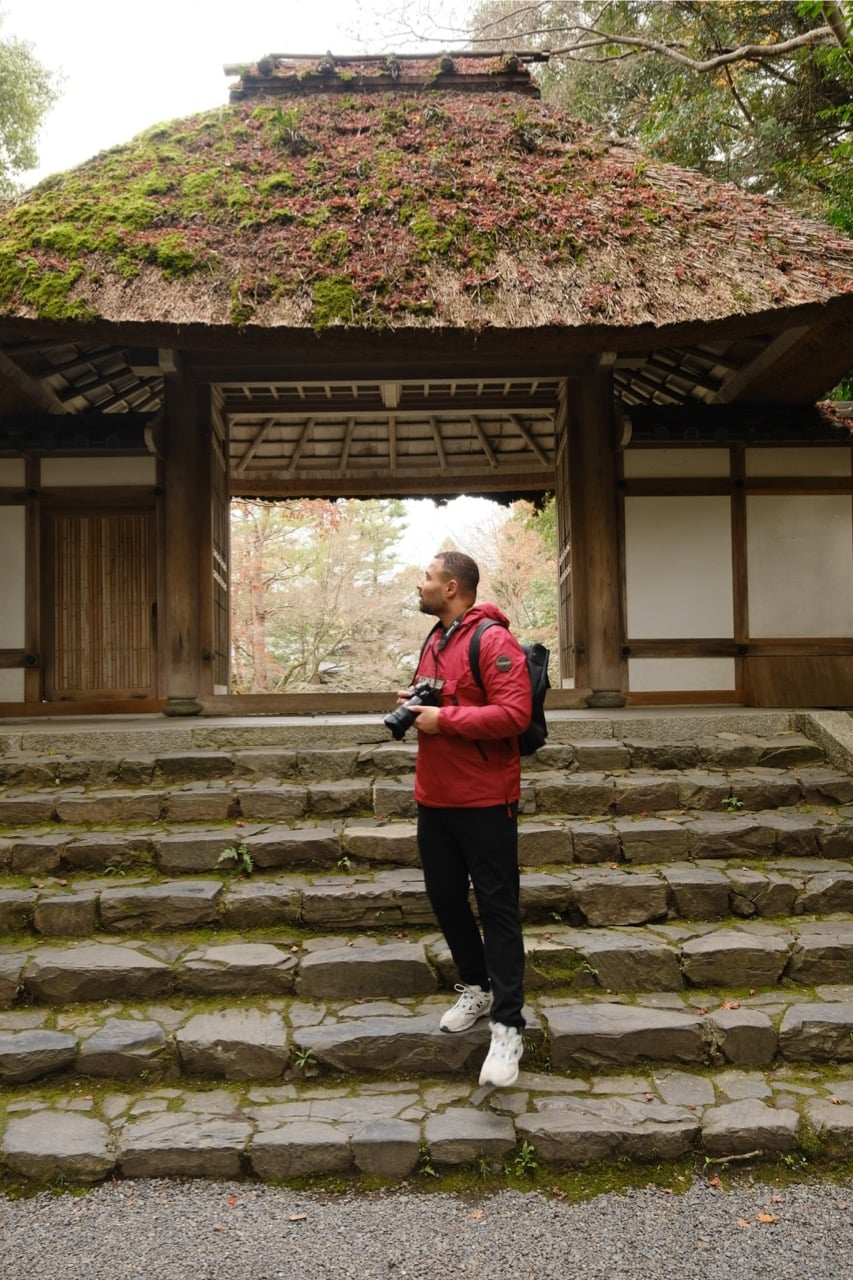
If You’re Into Photography, This Is Important…
You will see quite a few signs in Kyoto where you are explicitly not allowed to take photos. These are particularly common around the main tourist districts. Although I saw a few of these elsewhere in Japan, they were far more common in Kyoto.
To be honest, I can completely understand this from a local’s perspective. Especially as someone who used to live in a central district of Copenhagen. If you see these signs, please respect them.
Thankfully, Kyoto has plenty of photogenic spots where you are fully allowed to take pictures. You don’t need to worry about coming back with some amazing images. 😅
Your Complete Kyoto Itinerary, Ready Whenever You Need It
I’m hesitant to call Kyoto “overrated” because I think that would be too harsh. However, I definitely needed to change my expectations when I arrived and accept the city for what it is. Nonetheless, I do think Kyoto is worth visiting—as I hope my itinerary has confirmed to you.
If you’re anything like me and love temples, Kyoto is the perfect place for you. There’s plenty more to enjoy here, too, and you could easily spend a week or longer if you really wanted to. The city has some awesome day trips nearby, too, which are worth going on if you happen to spend longer in Japan’s former capital.
Feel free to bookmark this Kyoto itinerary whenever you need it. You can follow it as-is or take what you like and leave the rest. Either way, I hope you have an amazing trip to Kyoto. You’re more than welcome to leave a comment if you have any additional questions.
More Useful Resources for Your Kyoto Trip 🇯🇵
Get a Japan eSIM (and 10% off with my discount code: DANNYCPH)
Read My Other Japan Travel Guides ⛩️
Check Availability for Accommodation in Kyoto: Booking.com / Expedia / Hotels.com / Agoda
Browse All Tours, Excursions, and Tickets in Kyoto: Viator / GetYourGuide / Klook
Pin for Later 📌